Tag Archives: extruder

And a printing we will go…

2013-09-02-03.48.06
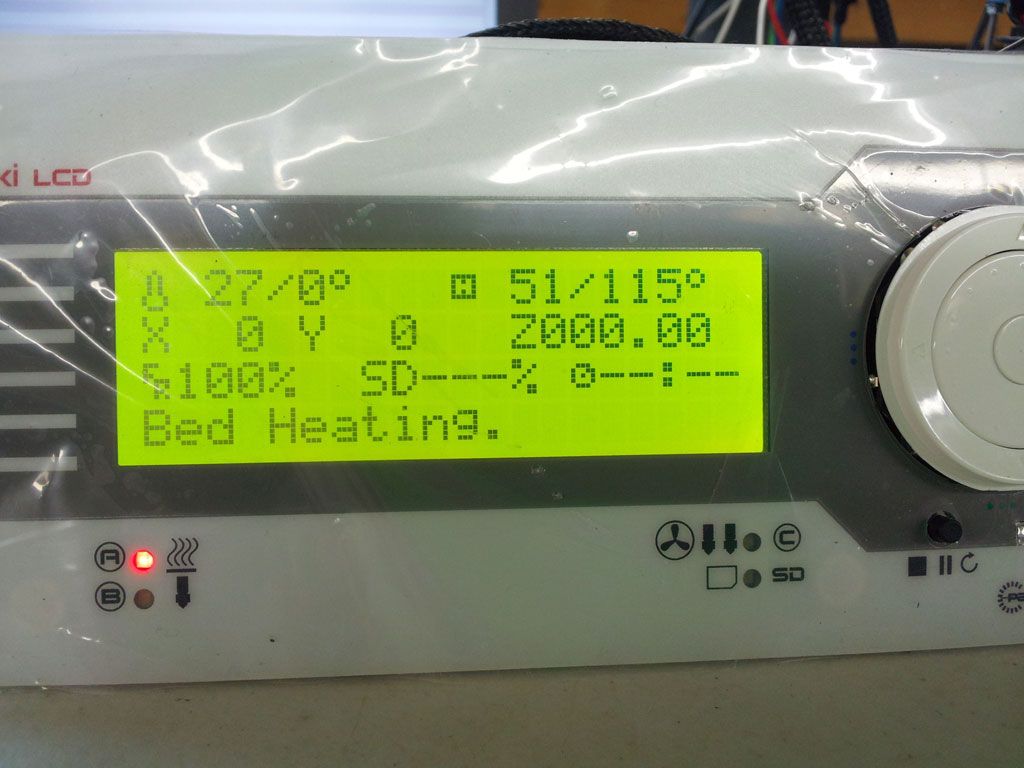
Still playing catch-up with the updates. But here we go.  First up, got the VIKI LCD working, after scouring the web on how to get this wired up with the azteeg x3 + marlin.  The buttons all seem to do the same thing, but the encoder works, and the display works. It appears the support in marlin is minimal so this isn’t so bad.


2013-09-01-20.19.25
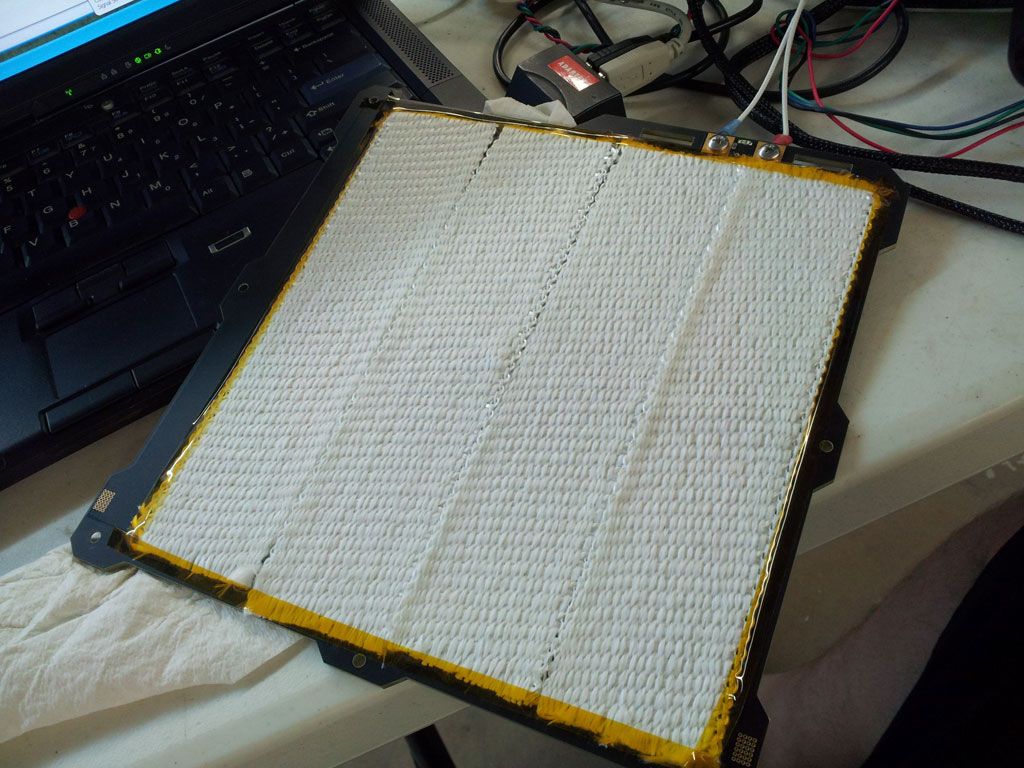
Next I got the Helios heated bed mounted.  The parts from panucatt shipped with some good insulation to stick underneath of it.  So did that part.


2013-09-01-17.24.24


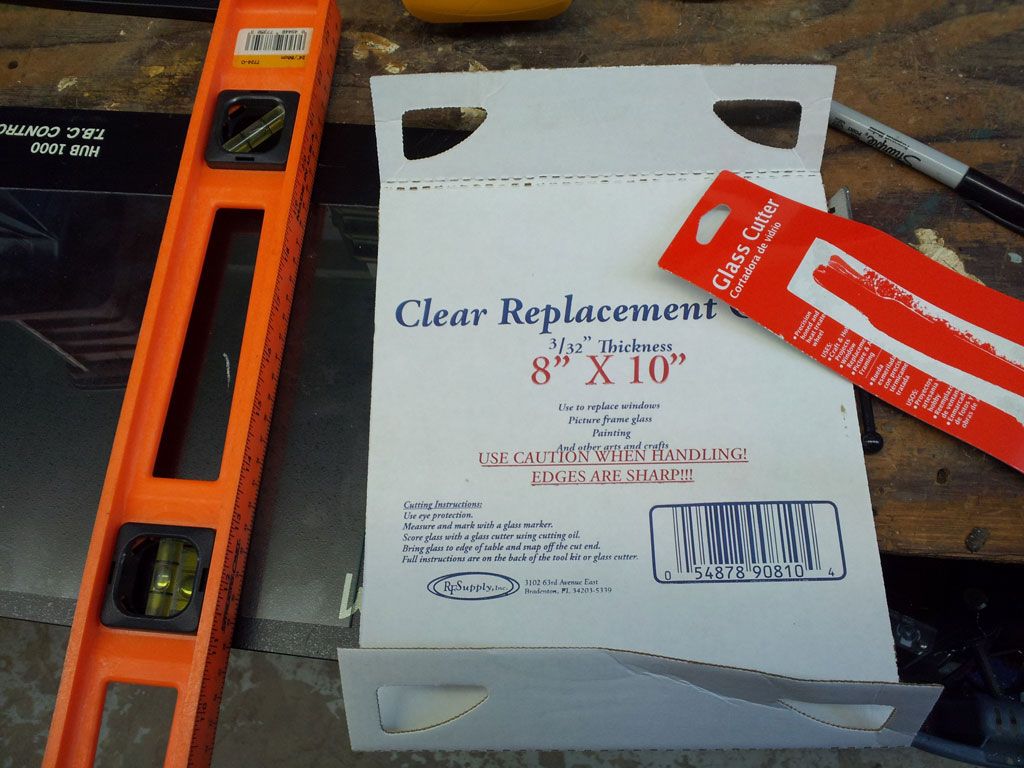
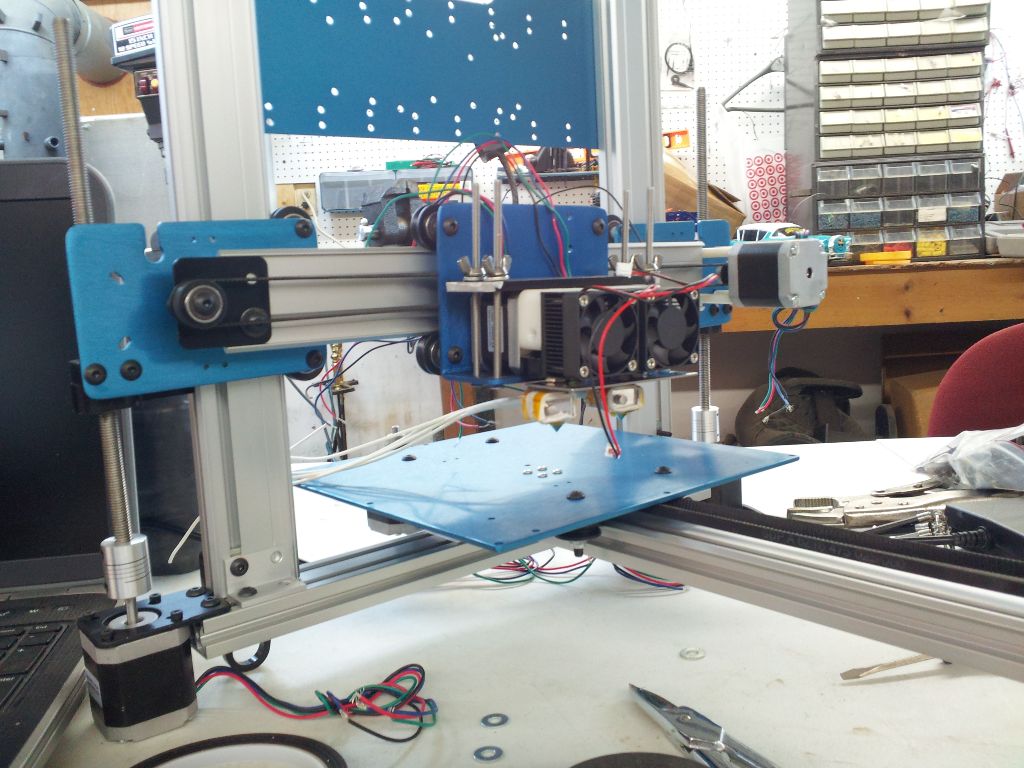
Then I cut some glass, I found a glass cutter and a sheet of replacement glass for picture frame.  Cut it down to about 8×8.  This was my first time cutting glass so I’ll most likely buy another one and do it again, as I cut it a little too short.  After I was done cutting I sanded the edges with sandpaper just to keep myself from bleeding all over the place.


2013-09-01-18.51.10


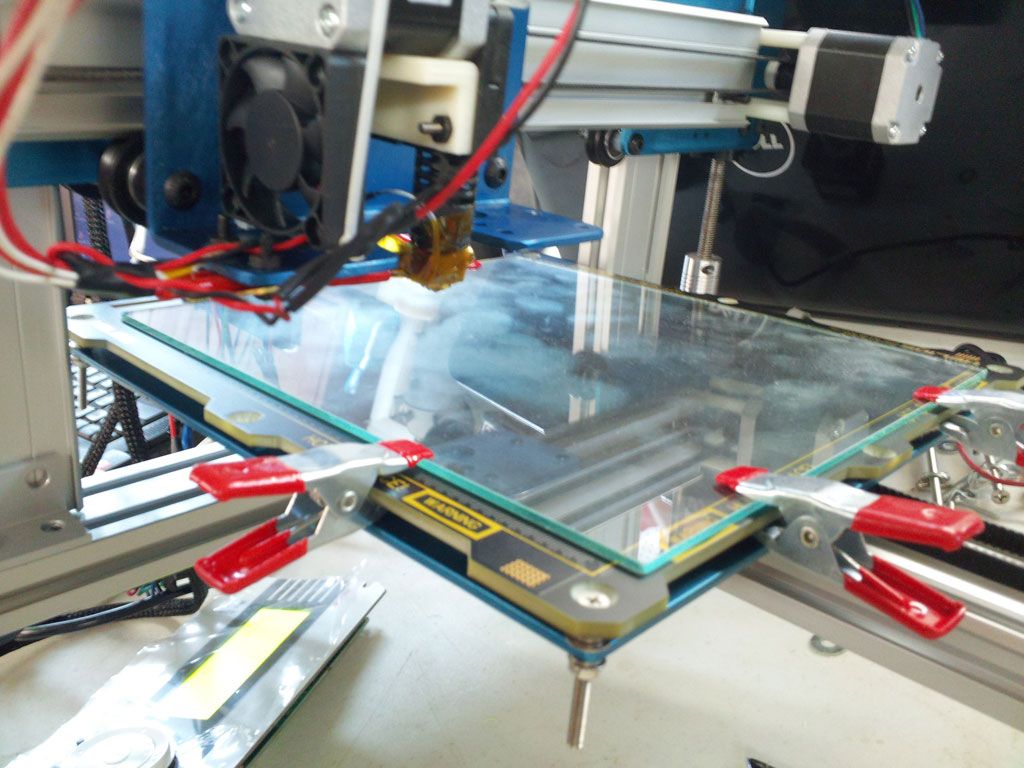
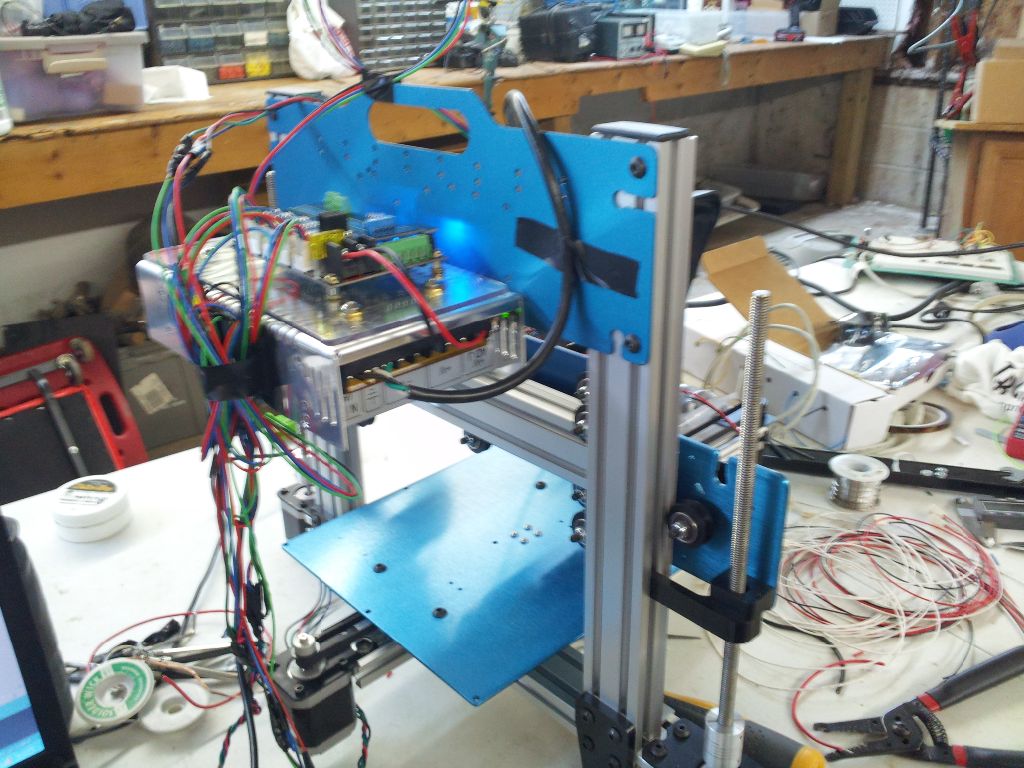
I know everyone loves binder clips, but this is all I had, so I’m using these clips for now until I get some binder clips.  The binder clips don’t stick out as much so I do want to do that.  Here’s the board mounted.


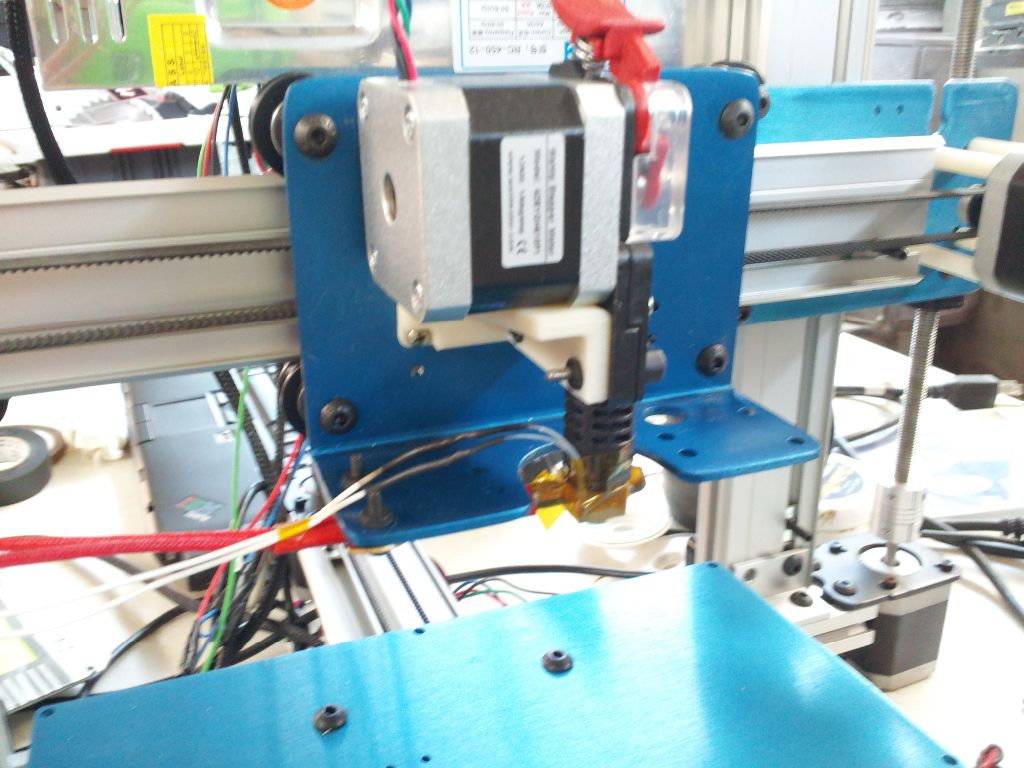
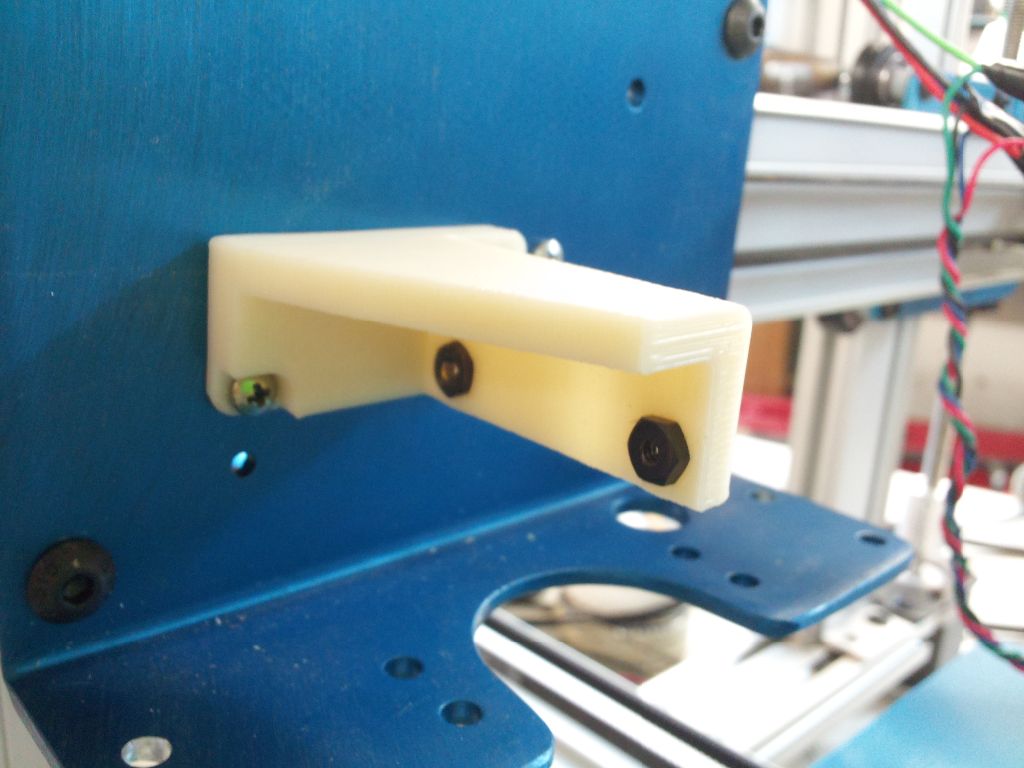
At this point I mounted all the limit switches and wired them up.  It appears to me most people building these mount the z home switch towards the bed.  I feel like that is an odd thing to do, because you will constantly have to tweak that so people make a mount with a screw so they can finely dial it in.  I remember using the Makerbot Thing-O-Matic and it homed it’s z on the limit then in software knew its height and could be set via software.  So I went that route.  I mounted the Z on the limit, then I set the height via repeteir and it knows where 0 is based off of that.  This way I can tune it into fractions to get the z where I want without physically tweaking something.

2013-09-02-03.47.43
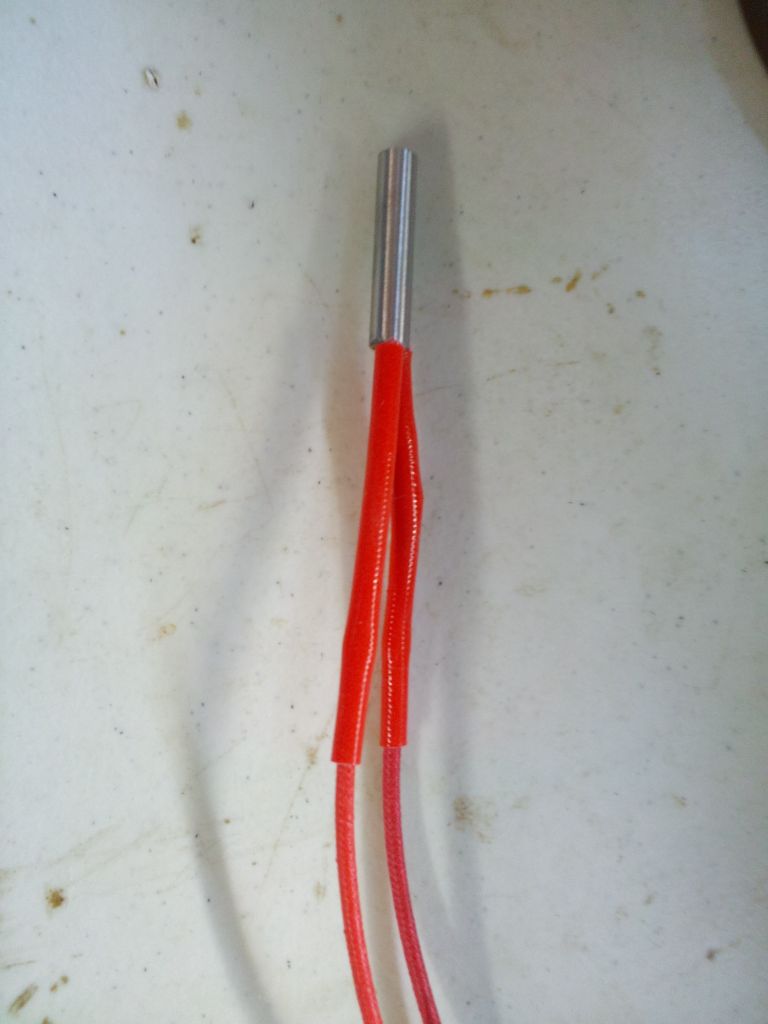
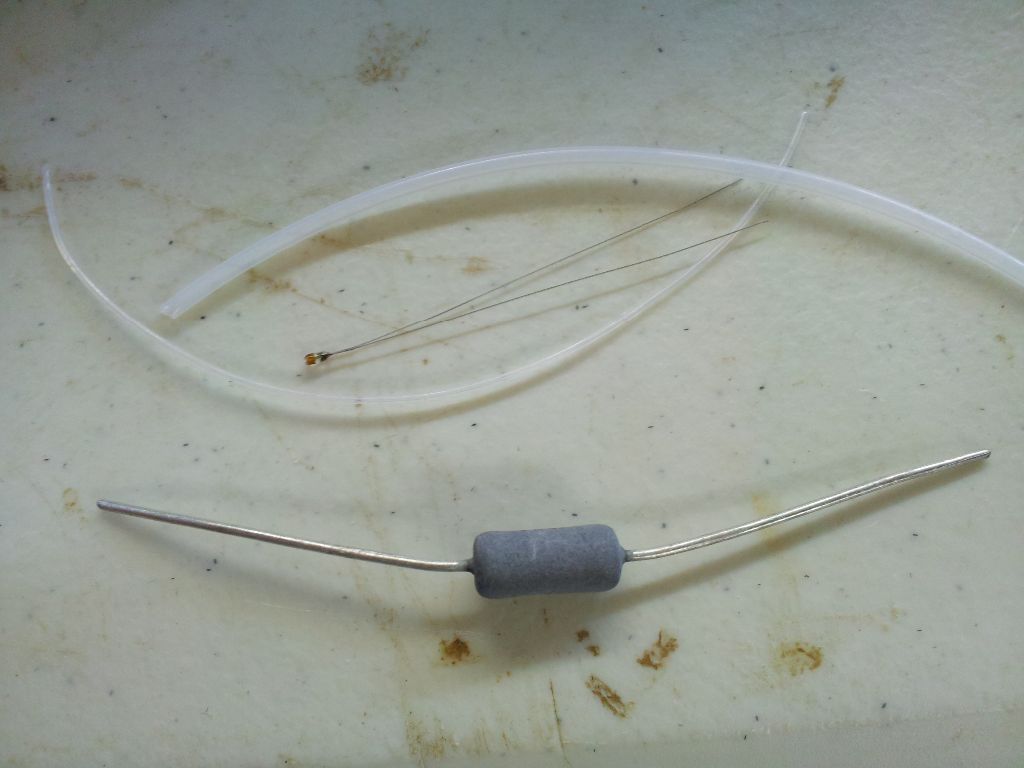
From there it’s just twist more wires, and fire it up.  I’m actually amazed at how long the bed takes to heat up.  I have the thermistor snugly against the glass in the center so I’m reading the glass temp.  But it takes quite awhile to warm up.  I think I’m going to throw down some transistor grease between the glass and the bed to see if that improves.  For now we will go with it.


2013-09-02-04.20.44


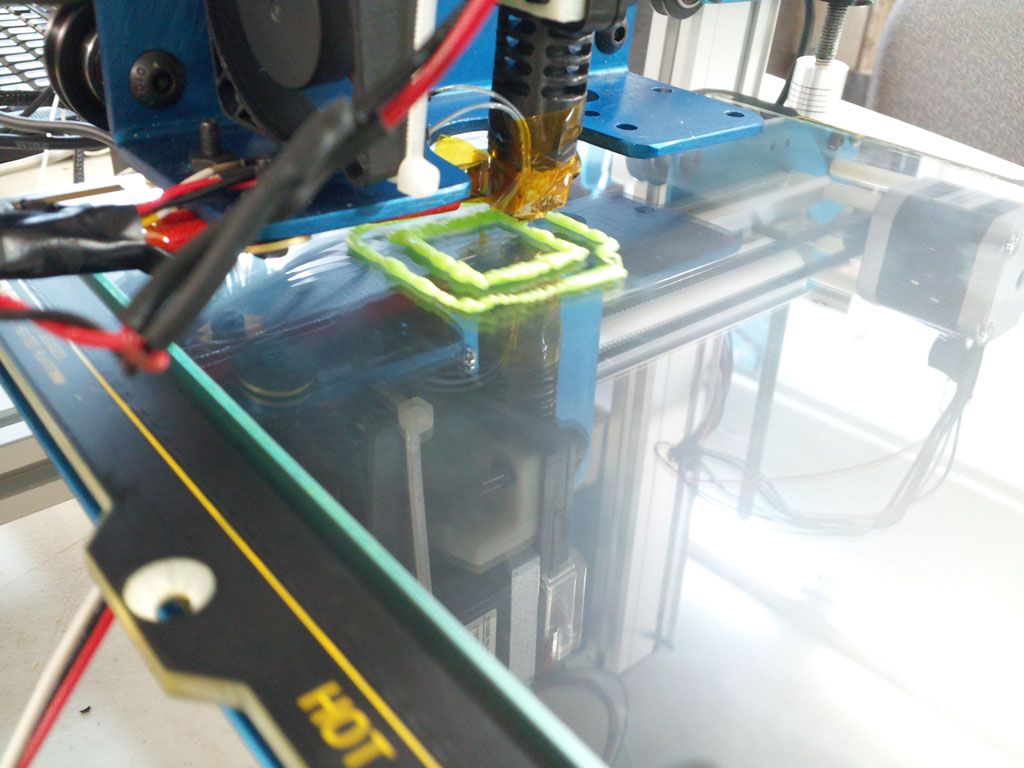
There it is folks.  The first print.   Obviously I didn’t set my extrusion rate properly.  So cancel that.  And lets try again.


2013-09-02-05.45.50


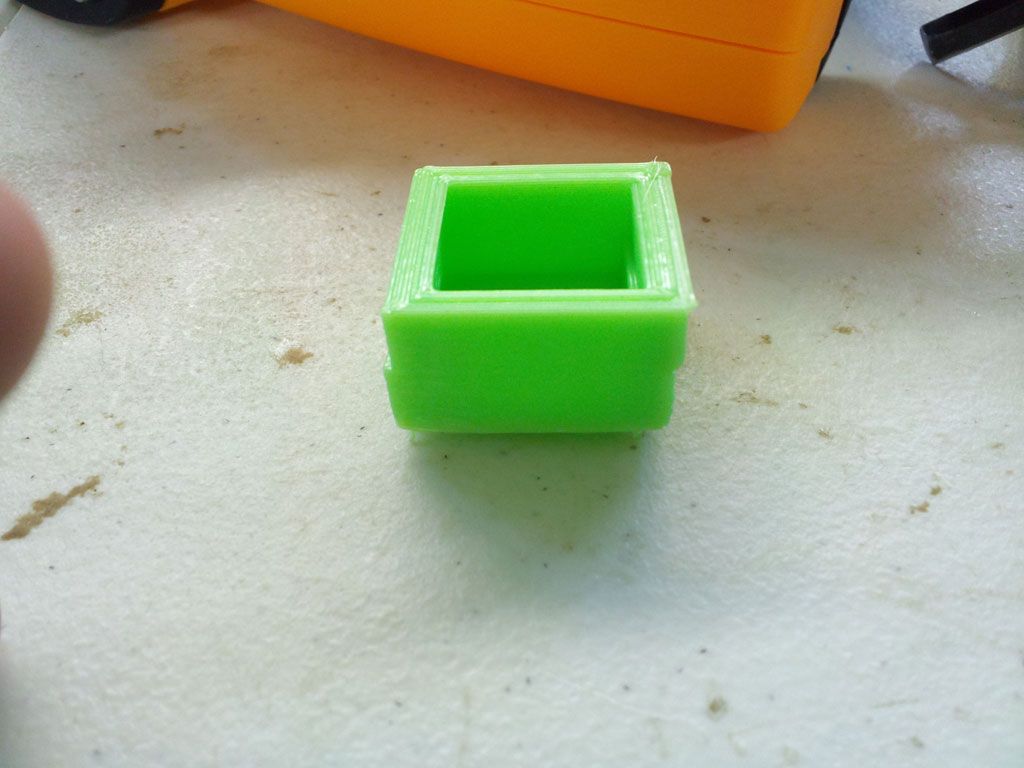
And boom.  Now that’s a pretty print.  Yeah I know it’s lopsided.  That was because I actually didn’t tighten the belts before I started.  So I was tightening them while it was printing.  Otherwise it’s a great looking print for #2.

Now that everything is working properly, it’s time to fix the wires, and then I can go back to dialing in that picture perfect print.

Ok, I give up on the QU-BD extruder’s …

2013-08-30 17.54.08So in an effort to actually get my ord bot up and running I’ve been putting in some hours in the garage.  I’ve been just twisting wires and taping them and trying to get things running, then when I know how everything will function I’ll tidy up.

In this effort I was previously attempting to run a dual QU-BD setup.  Someone asked me why I chose to go QU-BD despite all the terrible reviews.  Well I had a chance to think about it.  The QU-BD was built off of a Makerbot reference design, and the version I bought was version 9.  My theory was that a) they’ve probably worked out the bugs by now.  and b) people on the internet like to complain.

Well I was wrong.  After spending countless hours fiddling with it, I just can’t seem to get it to extrude consistently (I’m not even trying to print with it at this point, just extrude right).  I’ve spent so many hours tweaking this thing that I just need to throw it out of the window.  Now I have read tons of fixes for it, people making parts like spring loaded tensioners, etc.  I’m just going to scrap it for parts and get something that works.

2013-08-30 15.29.27So what to get ?  First off, I’ve heard so much good praise about the J-Head hot end.  So I went to order a one from hotends.com but he was out of stock.  So I ordered one off of ebay only to read a review afterwards about sub-par quality of the chinese J-Head clones.  So while I was waiting on my J-Head to ship from china, I checked hotends.com again and they were in stock!  So I ordered one from hotends.com and it actually arrived before the one from china.


2013-08-30 15.41.022013-08-30 15.56.39


For an extruder I bought the EZStruder from seemecnc.com.  Again I’ve heard good things about it.
Looking a the quality of the EZStruder, the molded plastic parts looked like the were going to work perfectly.  Everything was just the right fit and tolerance.s, and it fits perfectly to a J-Head nozzle.  I stole the stepper off of one of my QU-BD extruders instead of buying a new one.  Also I decided to just focus on a single head design and when everything is happy I’ll order another EZStruder and see about getting the chinese J-Head working with it in a dual design.  For now I want to just get the ball rolling.

So now the J-Head shipped with a power resistor to heat it.  I actually have a heater cartridge I got off ebay that I think looks nicer, plus it means I don’t need to find any high temp wire to hook up to it.  So I went with the heater cartridge.


2013-08-30 15.29.53 2013-08-30 15.33.21

The only issue I had with the heater cartridge is it doesn’t seem to fit real snug.  The QU-BD design had a screw tensioner you could put on the cartridge to make it a nice snug fit.  The J-Head site recommends using some compound for like muffler holes.  I decided to improvise by pulling tiny strands of stranded wire through with it to give it a nice snug fit.

2013-08-30 16.06.362013-08-30 16.33.26To mount it, I found a bracket made by bwevans on the ord-bot forums (link here).  I printed it out on an old thing-o-matic at my hackerspace.  The bracket fit nice, it uses holes already there for the belt attachment and I just had to find some screws that fit.


Some other pics are posted below.  So far I can tell you this setup works perfectly.  Everything fits together real nice, the filament is nice and sturdy and it seems to be able to extrude really fast and hasn’t slipped once.

Finally some Ord Bot progress

2013-08-02 17.22.49I’ve been neglecting my ord bot build for awhile, but I’ve finally made some progress.

First of all let me explain something.  Aside from the hardon platform, I really didn’t want to follow any templates.  I just figured I’d order a bunch of parts and figure things out as I go.  If I wanted instructions to put X in Y I would have bought a full kit.

With that out of the way — I decided to start mounting the electronics.  I played with the idea of putting the power supply under the platform.  I think that for weight distribution it would be nice under there.  I don’t remember exactly (as I’m playing catch up with posts at the moment) but I decided not to.

So second choice is to mount the power supply to the main brace with the handle.  Which conveniently has lots of mounting holes in it already.  Again weight distribution in mind, it should lay flat, but that would have taken all my real estate for mounting stuff to it.  So I ended up mounting the power supply vertical and using it as a shelf for my controller.  I figured why not.

I started out with some acrylic I had laying around and drilled some holes to mount some standoffs from the power supply.  Then I did some more standoffs for the actual Azteeg X3 controller.  Finally, I think I had to drill 1 hole to mount the power supply to the board (I re-used one existing hole).

I’m actually happy with the way it turned out.  It does make the back end a little heavy but I don’t think it will affect anything much.

For now I’m just twisting and taping the wiring so I can get a feel for how long things need to be and mounting.  I’ve actually made more progress, but I wanted to break each part up in sections.

Ord Bot build update and qu-bd extruder build issues

2013-04-13 01.54.10I got some parts in for my ORD BOT 3d printer build and I spent a good day putting it together.  Well I didn’t make as much progress as I anticipated and sadly had a pretty frustrating time, mostly with the QU-BD extruder build.  While it should have been fairly straight forward let me start off by pointing out the build instruction flaws.


Read more »

3d printer parts are in!

I always feel like its Christmas time when I get parts in the mail.  So I got the power supply, the extruder, the stepper controller, drivers, and a bunch of other stuff that I may or may not need.  I’ll post more pics and comments as I start to put it together, here’s some pics of what I got.

More 3D Printer parts ordered

I ordered a bunch of stuff from Panucatt Devices, namely the Azteeg X3 controller, Helios 200 Heat bed, and a viki lcd just for fun.  I also went with the dual extruders from QU-BD, despite what I’ve read on the internet.  There are a lot of unhappy people with this extruder, i’ll try it, and if it doesn’t work out i’ll pick up something else.  I still need a power supply, I’m not sure why people are moving away from using ATX power supplies, maybe for size?

Building a 3D Printer

ord_bot_2-1-300x248I’ve been thinking of putting one together recently.  I have a Makerbot I can use at my hackerspace. But I’d like to have one at the house.  So shopping around I decided to go with the Ord Bot platform, Automation Technologies sells a good kit for the base platform but it’s missing some things like the extruder/electronics/bed.  I ordered that.  Just got my shipping notice.