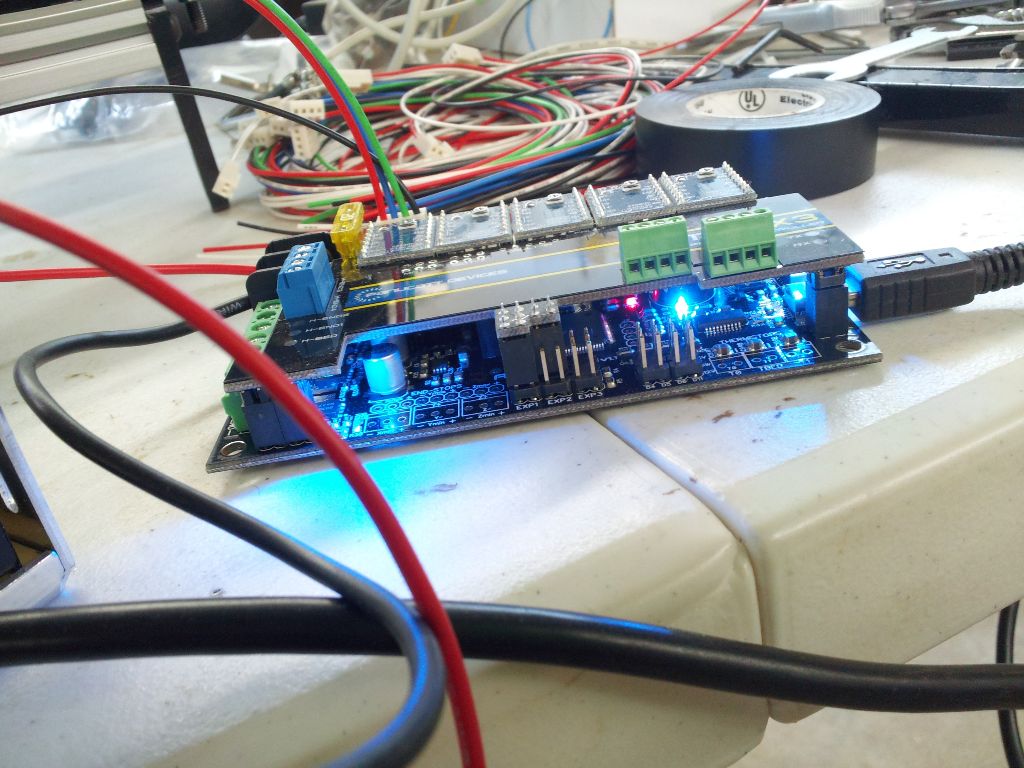
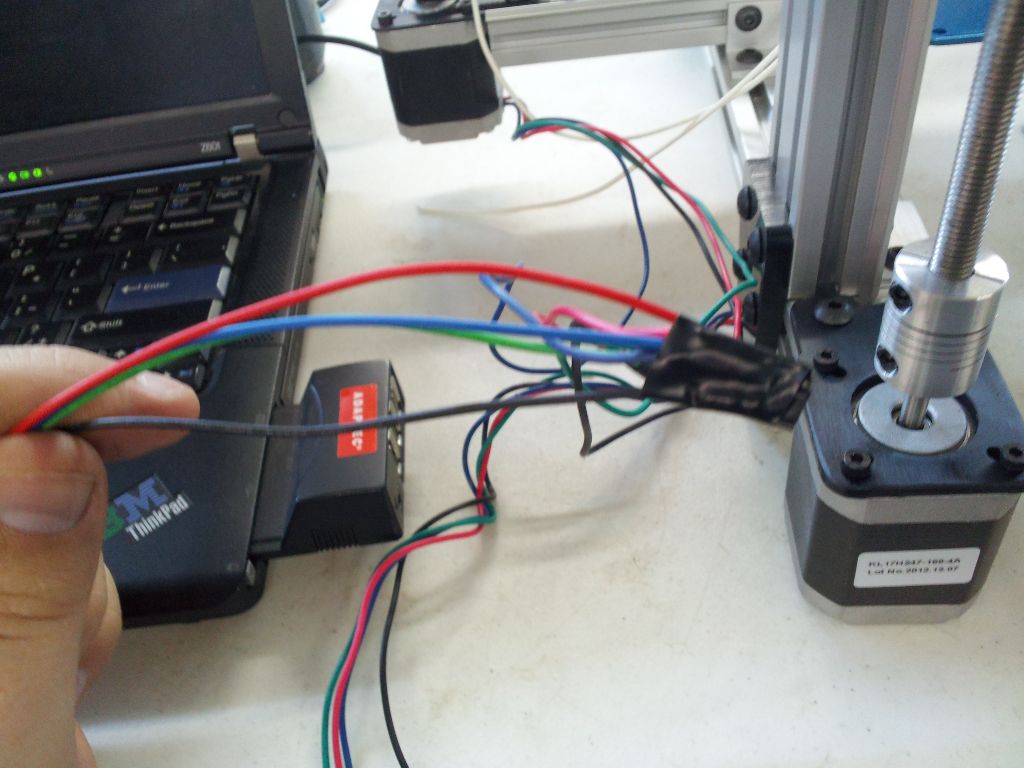
 So in an effort to actually get my ord bot up and running I’ve been putting in some hours in the garage. I’ve been just twisting wires and taping them and trying to get things running, then when I know how everything will function I’ll tidy up.
In this effort I was previously attempting to run a dual QU-BD setup. Someone asked me why I chose to go QU-BD despite all the terrible reviews. Well I had a chance to think about it. The QU-BD was built off of a Makerbot reference design, and the version I bought was version 9. My theory was that a) they’ve probably worked out the bugs by now. and b) people on the internet like to complain.
Well I was wrong. After spending countless hours fiddling with it, I just can’t seem to get it to extrude consistently (I’m not even trying to print with it at this point, just extrude right). I’ve spent so many hours tweaking this thing that I just need to throw it out of the window. Now I have read tons of fixes for it, people making parts like spring loaded tensioners, etc. I’m just going to scrap it for parts and get something that works.
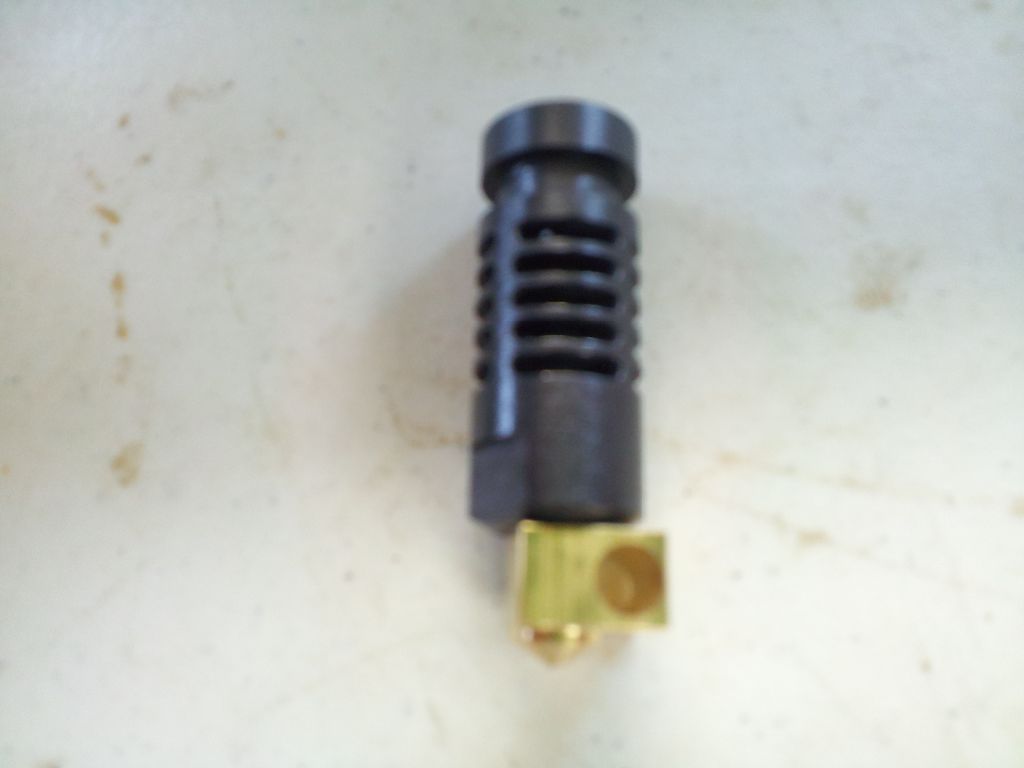 So what to get ? First off, I’ve heard so much good praise about the J-Head hot end. So I went to order a one from hotends.com but he was out of stock. So I ordered one off of ebay only to read a review afterwards about sub-par quality of the chinese J-Head clones. So while I was waiting on my J-Head to ship from china, I checked hotends.com again and they were in stock! So I ordered one from hotends.com and it actually arrived before the one from china.

For an extruder I bought the EZStruder from seemecnc.com. Again I’ve heard good things about it.
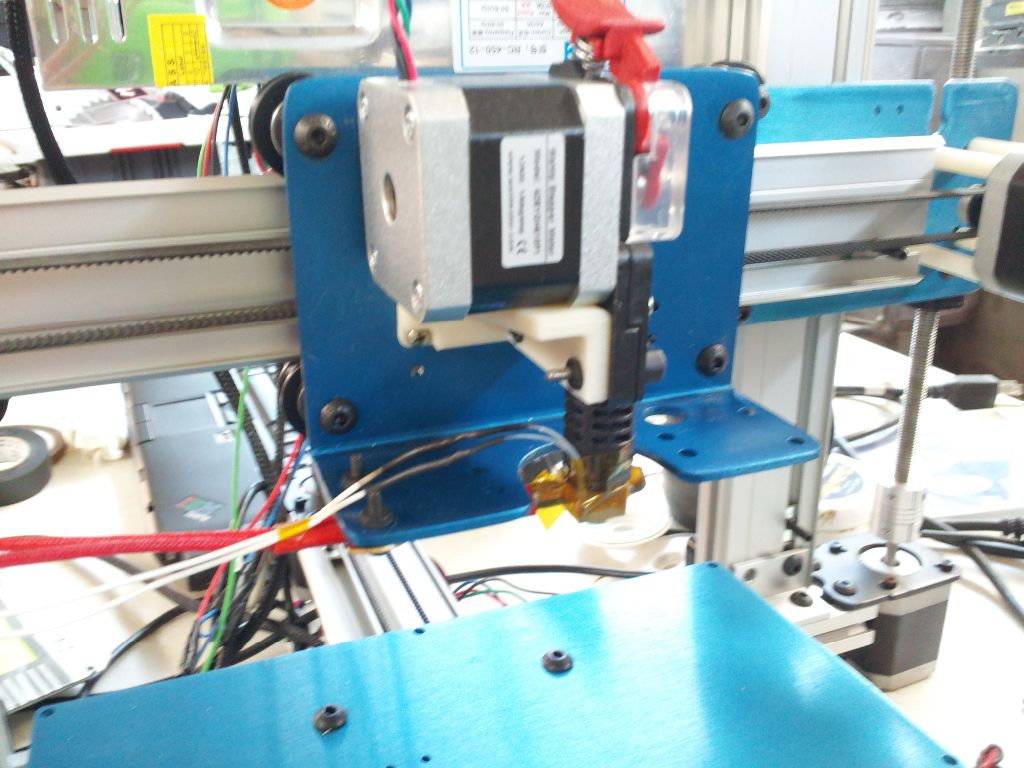
Looking a the quality of the EZStruder, the molded plastic parts looked like the were going to work perfectly. Everything was just the right fit and tolerance.s, and it fits perfectly to a J-Head nozzle. I stole the stepper off of one of my QU-BD extruders instead of buying a new one. Also I decided to just focus on a single head design and when everything is happy I’ll order another EZStruder and see about getting the chinese J-Head working with it in a dual design. For now I want to just get the ball rolling.
So now the J-Head shipped with a power resistor to heat it. I actually have a heater cartridge I got off ebay that I think looks nicer, plus it means I don’t need to find any high temp wire to hook up to it. So I went with the heater cartridge.
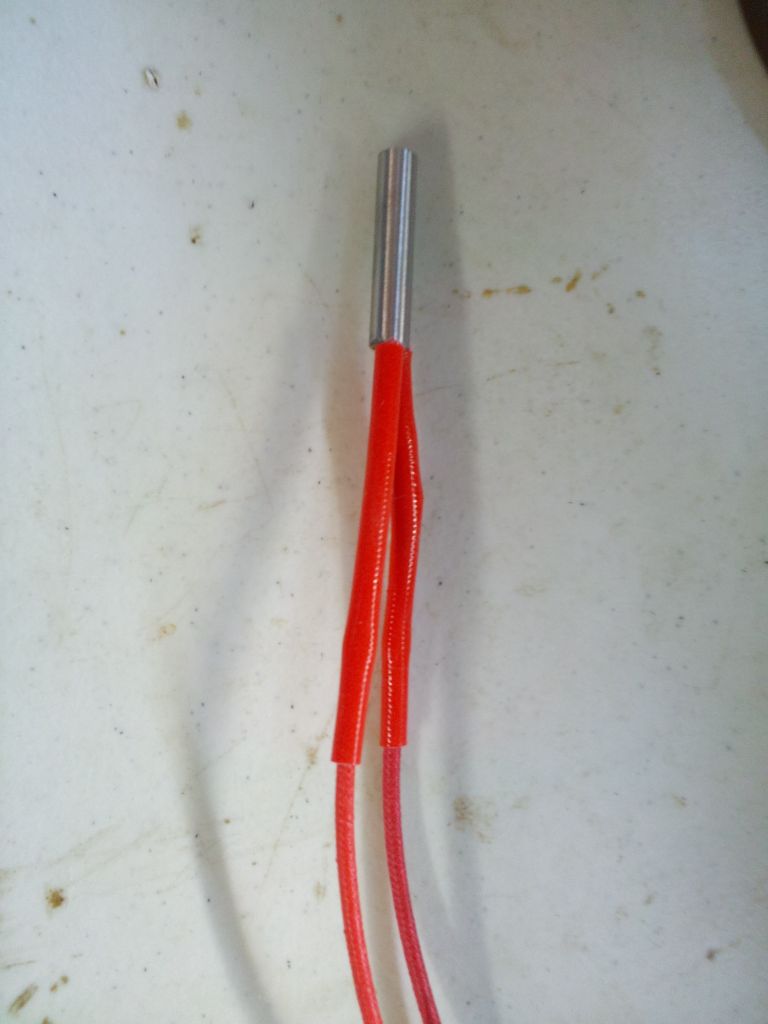
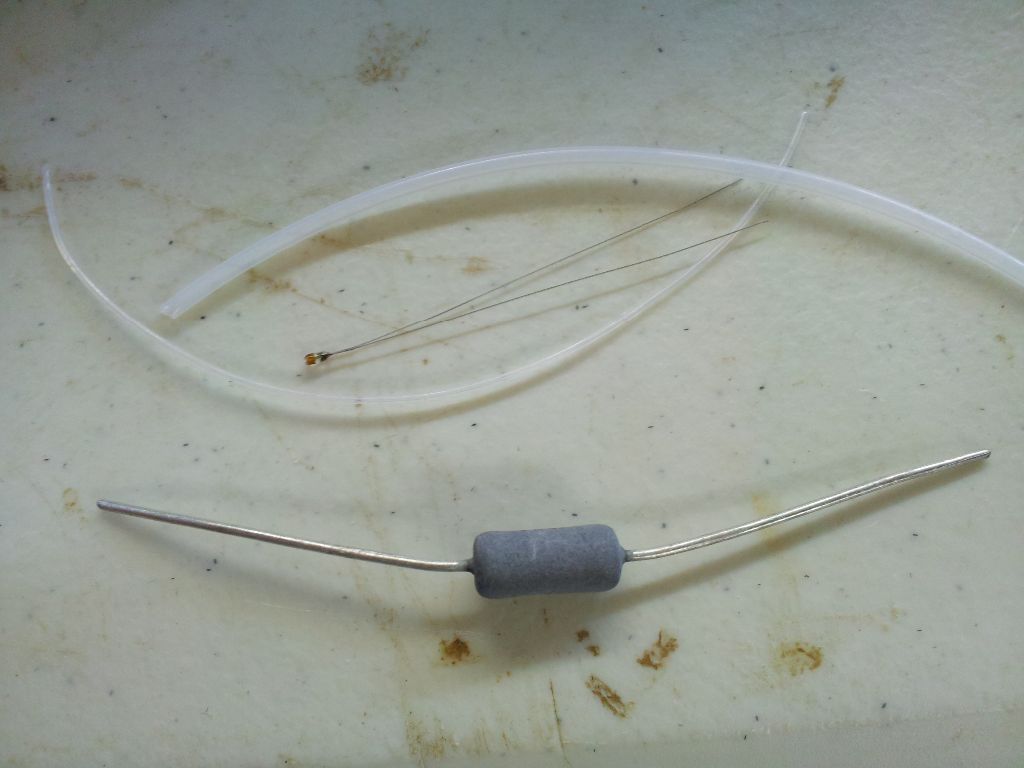
The only issue I had with the heater cartridge is it doesn’t seem to fit real snug. The QU-BD design had a screw tensioner you could put on the cartridge to make it a nice snug fit. The J-Head site recommends using some compound for like muffler holes. I decided to improvise by pulling tiny strands of stranded wire through with it to give it a nice snug fit.

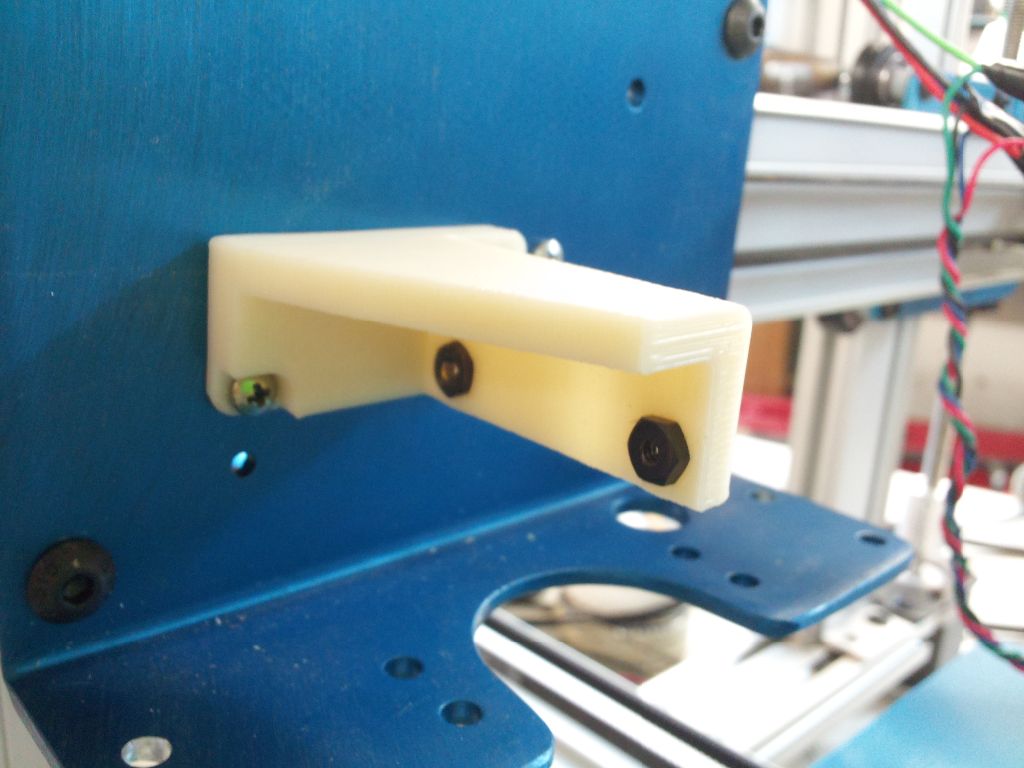 To mount it, I found a bracket made by bwevans on the ord-bot forums (link here). I printed it out on an old thing-o-matic at my hackerspace. The bracket fit nice, it uses holes already there for the belt attachment and I just had to find some screws that fit.
Some other pics are posted below. So far I can tell you this setup works perfectly. Everything fits together real nice, the filament is nice and sturdy and it seems to be able to extrude really fast and hasn’t slipped once.


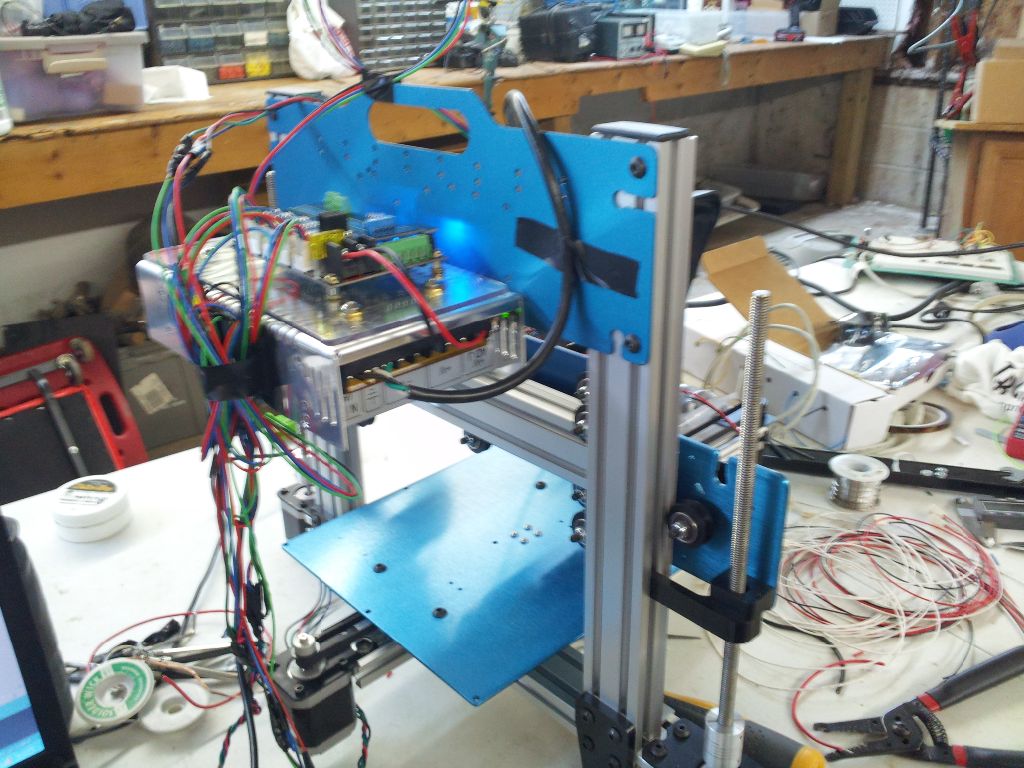


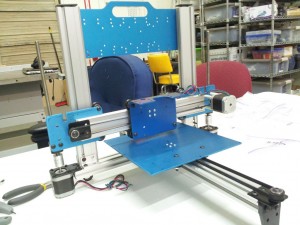 I was greeted with a package today containing some of the parts for my 3d printer (ord boy hadron). So late last night I spent about 6 hours putting the frame together. I can’t say the assembly documentation was well spelled out, it was just barely enough to get it done. And even then I know I put some parts on wrong. I’m not worried about it though I just wanted to roughly put it together, as I have no electronics other than steppers at the moment. So I’m still waiting on the extruder, heat bed, controller. I didn’t bother running wires or aligning the rails. It moves pretty good but I need to take the gantry off and flip the mounting bracket for the extruder, also some how I have the stepper on the wrong side for the y axis even though it shouldn’t matter. I feel good about it, there were some annoying things like the front foot didn’t mount well. The holes in the aluminum weren’t tapped and the only tap I had was a cheap chinese one that didn’t work _at all_.


