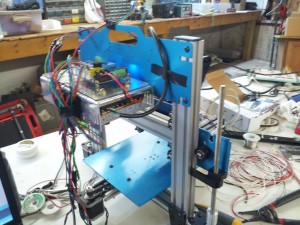
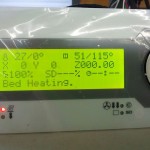
 Still playing catch-up with the updates. But here we go. First up, got the VIKI LCD working, after scouring the web on how to get this wired up with the azteeg x3 + marlin. The buttons all seem to do the same thing, but the encoder works, and the display works. It appears the support in marlin is minimal so this isn’t so bad.
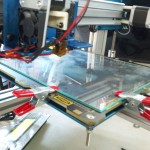
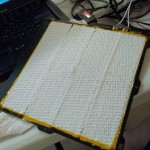 Next I got the Helios heated bed mounted. The parts from panucatt shipped with some good insulation to stick underneath of it. So did that part.
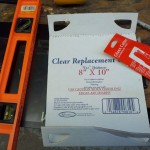
Then I cut some glass, I found a glass cutter and a sheet of replacement glass for picture frame. Cut it down to about 8×8. This was my first time cutting glass so I’ll most likely buy another one and do it again, as I cut it a little too short. After I was done cutting I sanded the edges with sandpaper just to keep myself from bleeding all over the place.
I know everyone loves binder clips, but this is all I had, so I’m using these clips for now until I get some binder clips. The binder clips don’t stick out as much so I do want to do that. Here’s the board mounted.
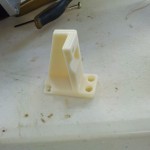
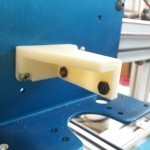
At this point I mounted all the limit switches and wired them up. It appears to me most people building these mount the z home switch towards the bed. I feel like that is an odd thing to do, because you will constantly have to tweak that so people make a mount with a screw so they can finely dial it in. I remember using the Makerbot Thing-O-Matic and it homed it’s z on the limit then in software knew its height and could be set via software. So I went that route. I mounted the Z on the limit, then I set the height via repeteir and it knows where 0 is based off of that. This way I can tune it into fractions to get the z where I want without physically tweaking something.
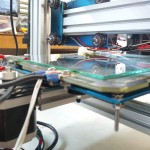 From there it’s just twist more wires, and fire it up. I’m actually amazed at how long the bed takes to heat up. I have the thermistor snugly against the glass in the center so I’m reading the glass temp. But it takes quite awhile to warm up. I think I’m going to throw down some transistor grease between the glass and the bed to see if that improves. For now we will go with it.
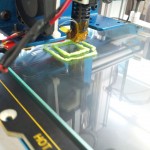
There it is folks. The first print. Obviously I didn’t set my extrusion rate properly. So cancel that. And lets try again.
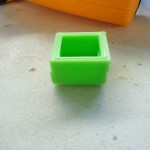
And boom. Now that’s a pretty print. Yeah I know it’s lopsided. That was because I actually didn’t tighten the belts before I started. So I was tightening them while it was printing. Otherwise it’s a great looking print for #2.
Now that everything is working properly, it’s time to fix the wires, and then I can go back to dialing in that picture perfect print.
