A playable desktop browser game of the Baltimore squeegee hustle. Wash, Collect, Stash, Get out. How good is your hustle. Don’t get hit! Enjoy.

A playable desktop browser game of the Baltimore squeegee hustle. Wash, Collect, Stash, Get out. How good is your hustle. Don’t get hit! Enjoy.
look at that — 10 years. no posts. I guess we should start posting again, eh ?
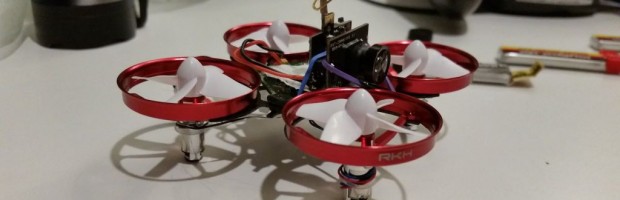
While at defcon 24, I saw Viss whooping around a little bit. I didn’t pay it much mind at the time, another fpv drone no big deal. But after defcon he posted this vid and then a few people on twitter asked what was his setup. After looking at his setup I started looking into this tiny whoop thing. It’s actually real cool and very reasonably priced, since you’re essentially beefing up a crappy toy drone into fpv. Between that and the vid had to build one myself.
I have a few quads, parrot ar drone 2 which is kinda boring. A tiny cheerson which has no guards so it likes to break every 5 min, a syma that flies pretty good but isn’t tiny… and a 3d printed tri-copter that I’ve never finished assembling (I don’t appear to have posted any info about this one… I’ll have to post it up).
Anywhoo, so this isn’t my first quad, but the idea of fpv’ing around and being able to take it with me on trips is really cool idea… My only other fpv is that tri-copter and I haven’t even flown it yet, and it’s pretty big so I wouldn’t think of dragging that along, but something this small… So I’m building one.
Started out with the RTF version inductrix blade.
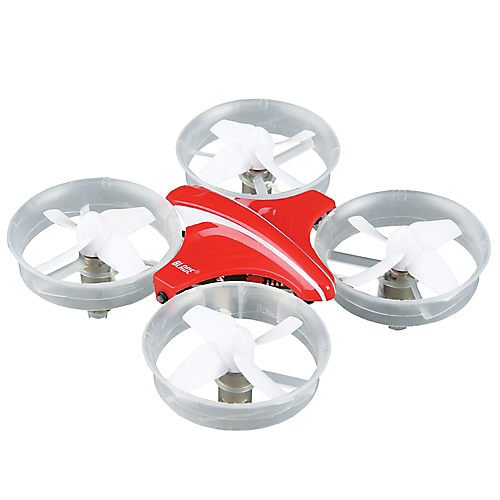
The RTF comes with a pretty decent controller, however it would have been nice to use my much nicer controller the Taranis x9d. But those radios aren’t compatible (for now… lol). We need it to be light, so we’re removing the ‘cover’.
A tiny all-in-1 5 ghz camera
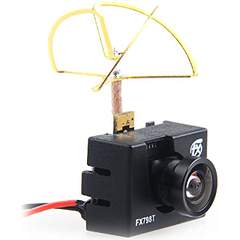
I used the FX798t, but the 797t will work, any of these tiny cameras will work really as long as the voltage is worked out. The idea is to be light as possible so we’re going to strip the case off of this too.
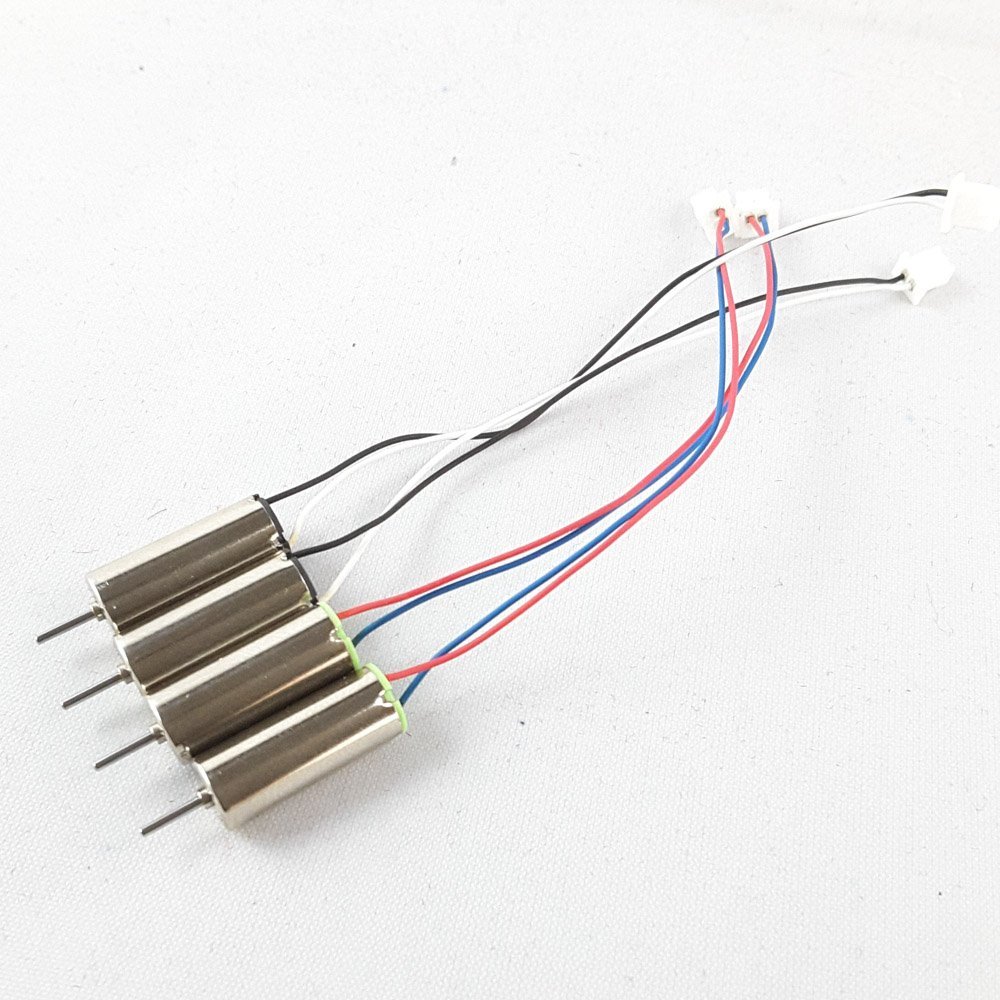
Now I didn’t try to put the camera on the stock frame with the stock motors, but people say the stock motors need to be upgraded to lift the camera well. So you can find upgraded motors. 6×15 I got mine from amazon by 65drones… actually I got most of the build from amazon.
 Now I don’t think it’s really a requirement, and honestly this is kind of expensive compared to the rest of the build, but the Rakon CNC frame is recommended as people say the plastic frame cracks after a good number of bashing stuff around the house, I went ahead and bought that too.
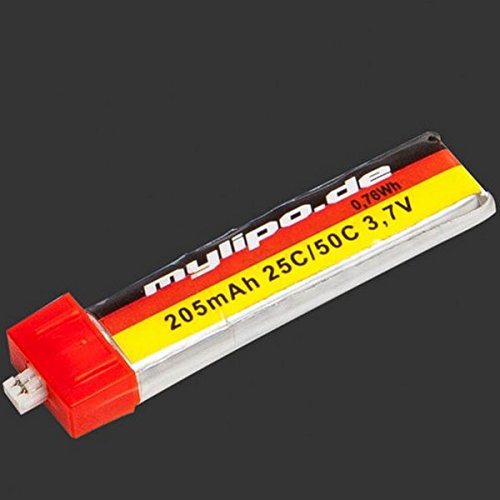
 Add some batteries of higher capacity… 1S 205mah (You need a bunch of these) flight time is pretty bad with the camera strapped, I get about 2-3 minutes with the 205mah.
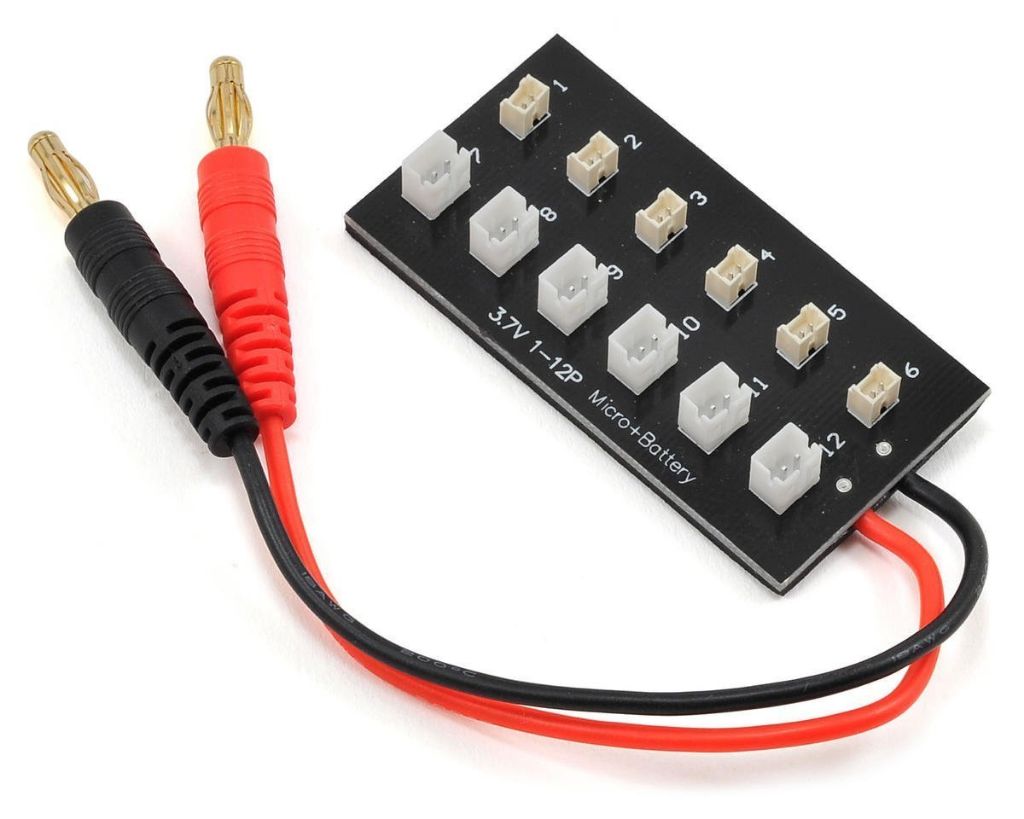
 A ganged charger for your existing lipo charger, or a few extra single usb chargers like the one that comes with the RTF.

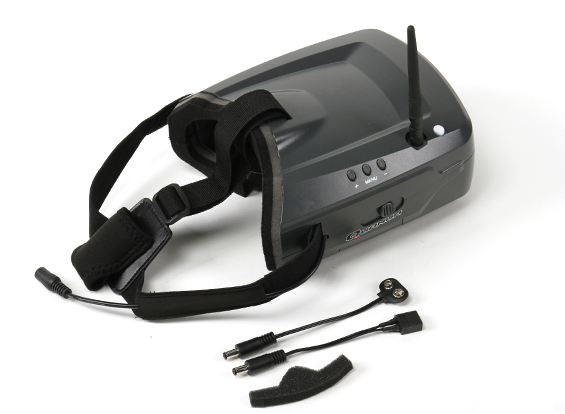
 And the last part of the puzzle is a FPV head set. I have a Quanum V2 from my tricopter setup from hobbyking. But I decided to go ahead and purchase the new Cyclops. Fatshark’s would probably be better for travel, but a) when I use them I don’t feel I can see as well… and b) they are quite expensive. On the downside the cyclops is pretty big for travel. Maybe I’ll grab a smaller pair for travel. For now I’m rolling cyclops.
 So, here’s the final product all put together.
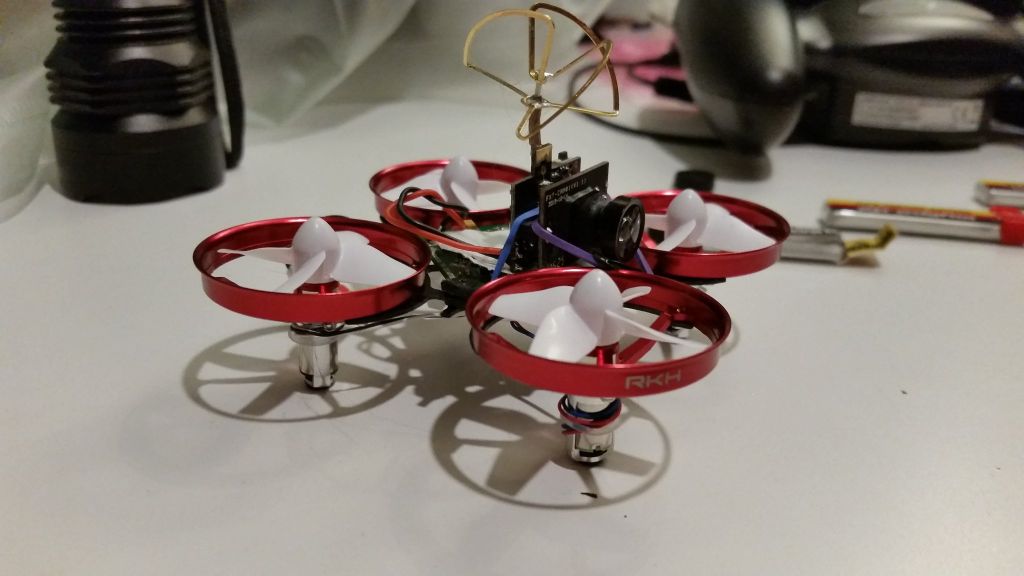 I havn’t figured out the best way to mount the camera, for now I’m doing the stickytape+rubber band approach, which is very sub optimal but it works.
Whoop Whoop.
I’m always looking to expand my tool bench. Having a previous segger product (er, sold by Atmel SAM-ICE) I looked at getting a J-Link because the SAM-ICE is cool but only works with the Atmel SAM line of products. I can’t deny, I love eBay for electronic junk, plus there might be a used one someone is selling or one nobody used and is clearing out electronic surplus. Well — what I found was a bunch of clones. So I decided to go ahead and grab one, at < 20$ why not.
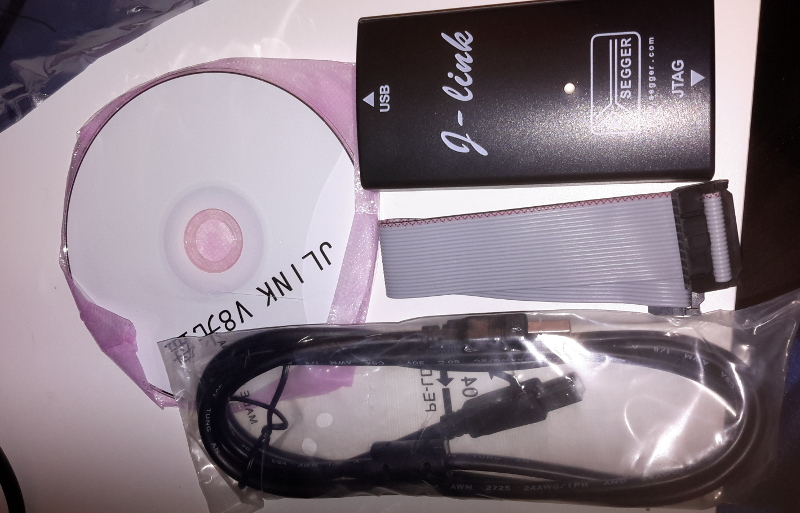
So here’s what you get. Pod, 20 pin cable, usb cable, and a cd.
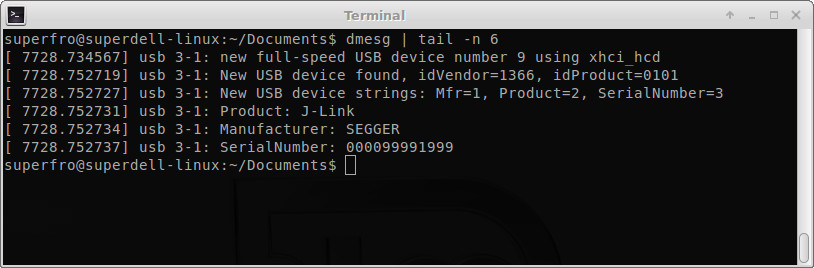
 Plugging it in.
 On the CD, not sure how much good it does you unless you understand what it means.
 Opening it up you can see a couple of parts:
AT91SAM764 – main arm processor
18.432mhz – crystal
AMS1117 – regulator
ALVC164245 x 2 – Level shifter + buffer
Also you see what a pretty ugly mess it is inside, there’s some left over flux or schmutz all over the board around the cpu.
Now I need to dig around my desk and find something to poke at, and see if it works. It enumerates, so that’s a start.


Something I’ve wanted to do for a long time was make a handheld Gameboy emu. It’s been done many times before. For whatever reason recently I stumbled on XodusTech’s build, and felt really inspired by his set up so I started making one. <grin>Oddly close to how they did theirs</grin>. Here’s some pics. So far some differences are I’m using a Gameboy color (instead of pocket). It was what was cheap and broken on eBay. Also I’m using a Pi model A instead of B. I don’t need 2 USB ports or ethernet, and rather have the lower current consumption. Also while I have plenty of Teensy’s around, I think I’m going to try using GPIO for my buttons instead of using the Teensy, shaves a few bucks off the BOM and lowers the current consumption even more.
It’s not quite done yet, I’m pretty close to finishing it.
Anyhoo, here’s some pics.


So many things have happened I just had not had the time to post updates. Well… look forward to me catching up some updates to things I’ve made.