 I got some parts in for my ORD BOT 3d printer build and I spent a good day putting it together. Well I didn’t make as much progress as I anticipated and sadly had a pretty frustrating time, mostly with the QU-BD extruder build. While it should have been fairly straight forward let me start off by pointing out the build instruction flaws.
The QU-BD web site has 2 links to build instructions, static text and images and video. I personally don’t like video instructions because I constantly have to rewind it. So I started the build with the static instructions, but I felt they obviously missed some steps and weren’t very verbose about what was going on.
 So I switched to the video tutorials. First thing I didn’t like was the fact it was split up into a bunch of videos, and there was no audio, there was text on the video. So great I still have to read it except now the boxes come and go, more rewinding… blah blah frustration. Ok now the video instructions provided a more complete build than the static ones and filled in some gaps so I was making some progress. Where as the static ones had you build one piece, then tells you to just put that piece aside, and start working on the extruder portion then just put it all together and you’re like what ? I missed something.
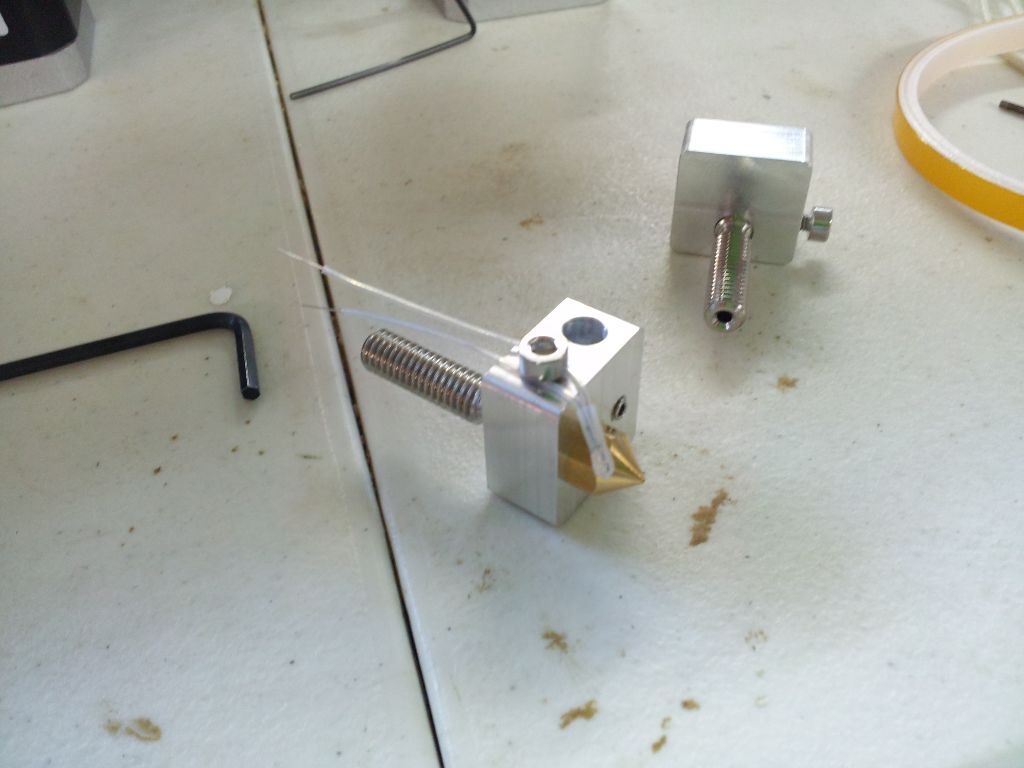
Mounting the thermisistor tot he extruder head, on the static instructions you just mount it, on the video instructions you have to put the heat shrink on first, which makes sense.
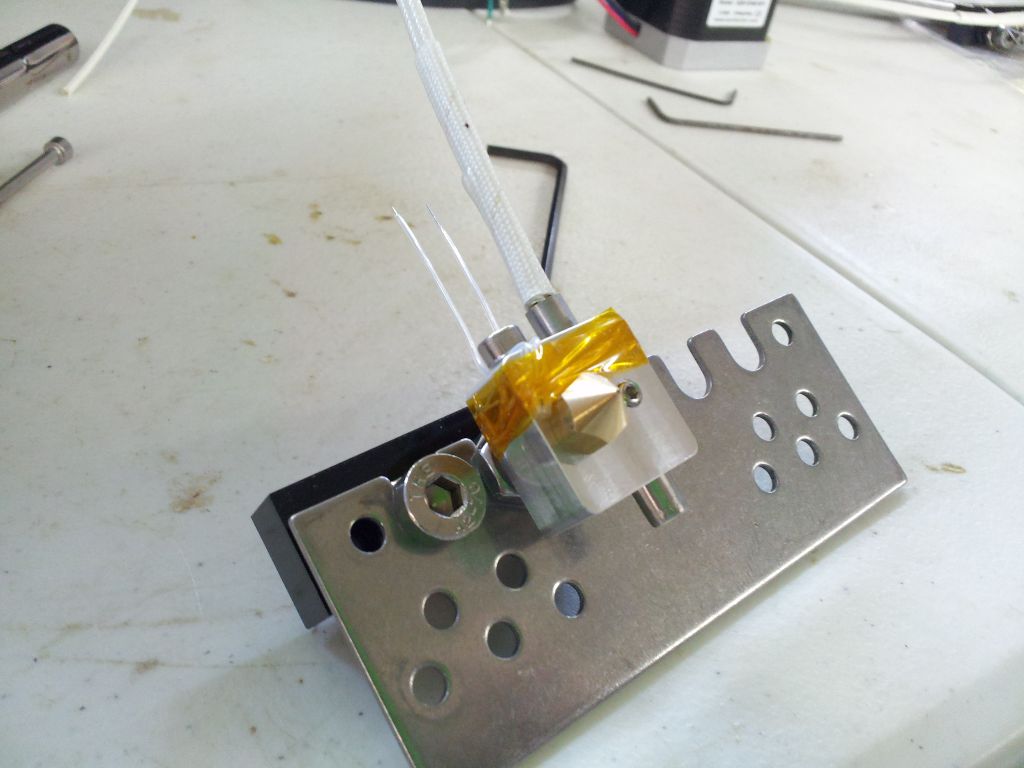
Also the static instructions have you mounting the extruder to the mounting plate without wrapping the insulation around it first. To be fair, I did read in the very very beginning that they didn’t do that for clearer pictures, but I had forgotten so it would have been good for them to remind me of that fact. Needless to say I felt I was constantly putting it together and taking it back apart, putting it together, taking it back apart.
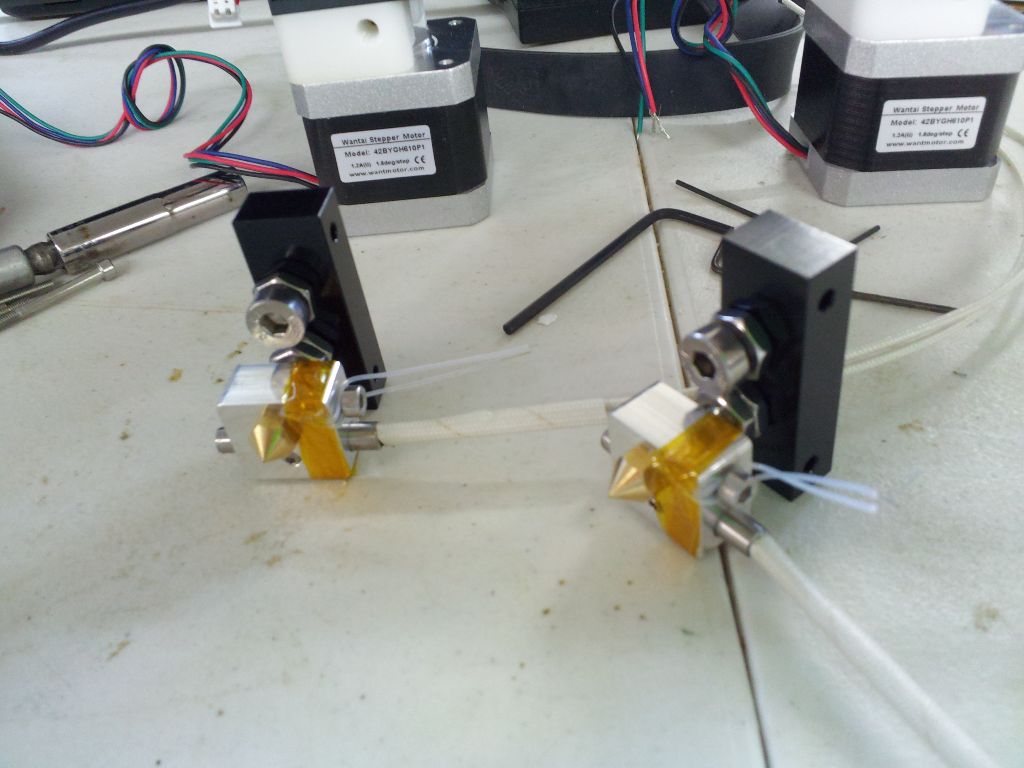
Then they split off in instructions and mention using the MK7 mount vs the universal mount and make little if no comments of using the dual extruder setup, one mentions inverting the parts but it doesn’t really say how they are inverted.

Probably my biggest gripe of the build instructions where the lack of proper orientation photos / comments. Most of the parts have slightly offset holes, and if you don’t put them in the proper way, they will not line up when you go to mount the extruder to the stepper.
My second biggest gripe is just the general way of how this thing is constructed. First of all it needs 5 different size allen keys, and a very very thin wrench. Luckily I found a chinese stamped wrench that fit. You have to adjust these nuts to lock the extruder to the mounting plate and its so thin you can’t get any tools in there to do so.
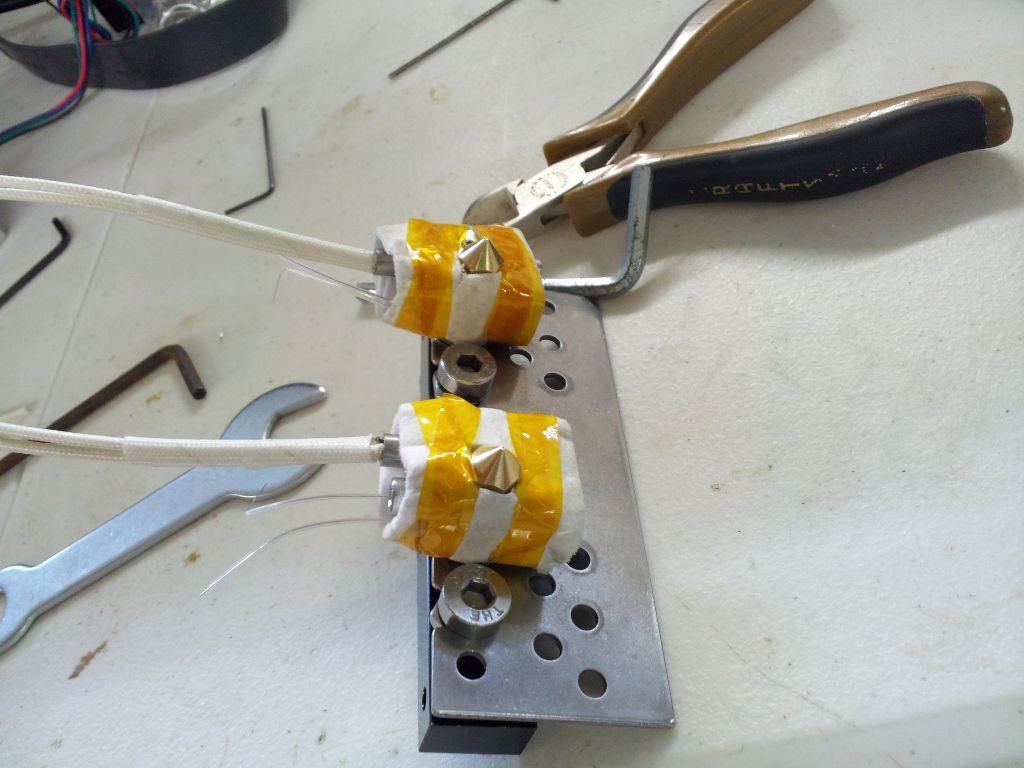
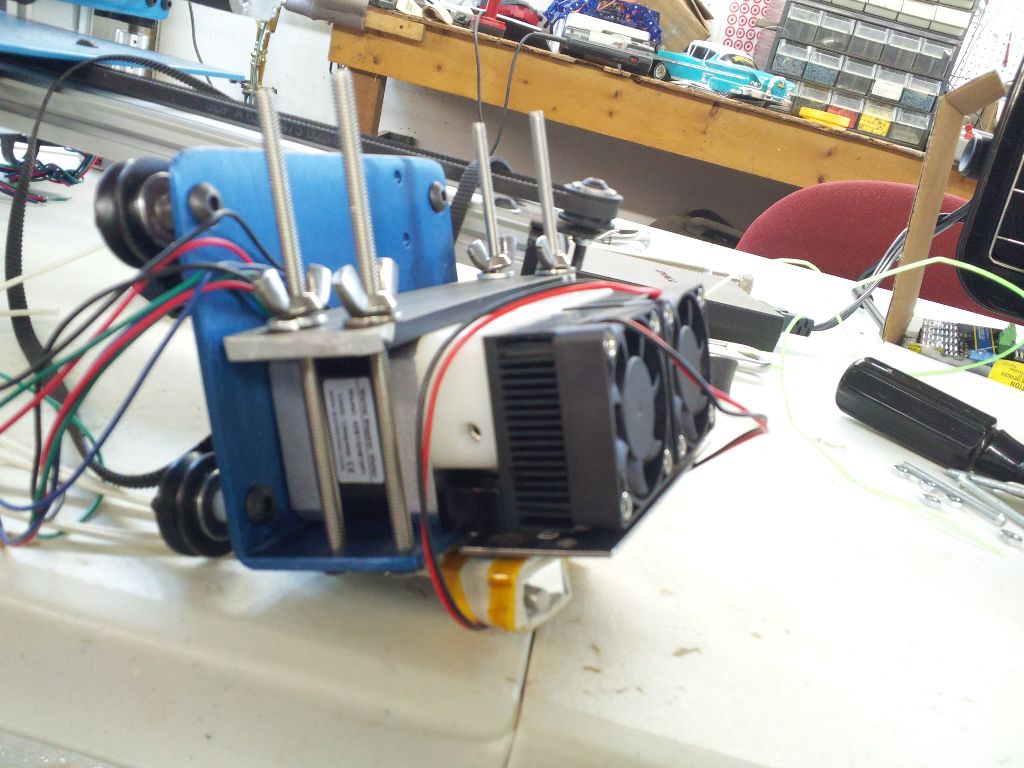
My last complaint is the sheer lack of the dual extruder setup. I would have liked to mount them where both extruders were mirrored and close to each other in the middle, but I’ve taken this thing apart and put it back together so many times that I’m sick of it. It’s still not 100% right either, one extruder is slightly lower than the other one. I’m pretty sure it’s going to be a pain in the butt to use 2 different color filaments if they aren’t aligned properly. But for the life of me I can’t seem to get them to align right. For now I’m just going to leave it because at this rate I have little doubts that the extruder will even work properly at all. If it does when I get that far, well maybe I’ll fix it.
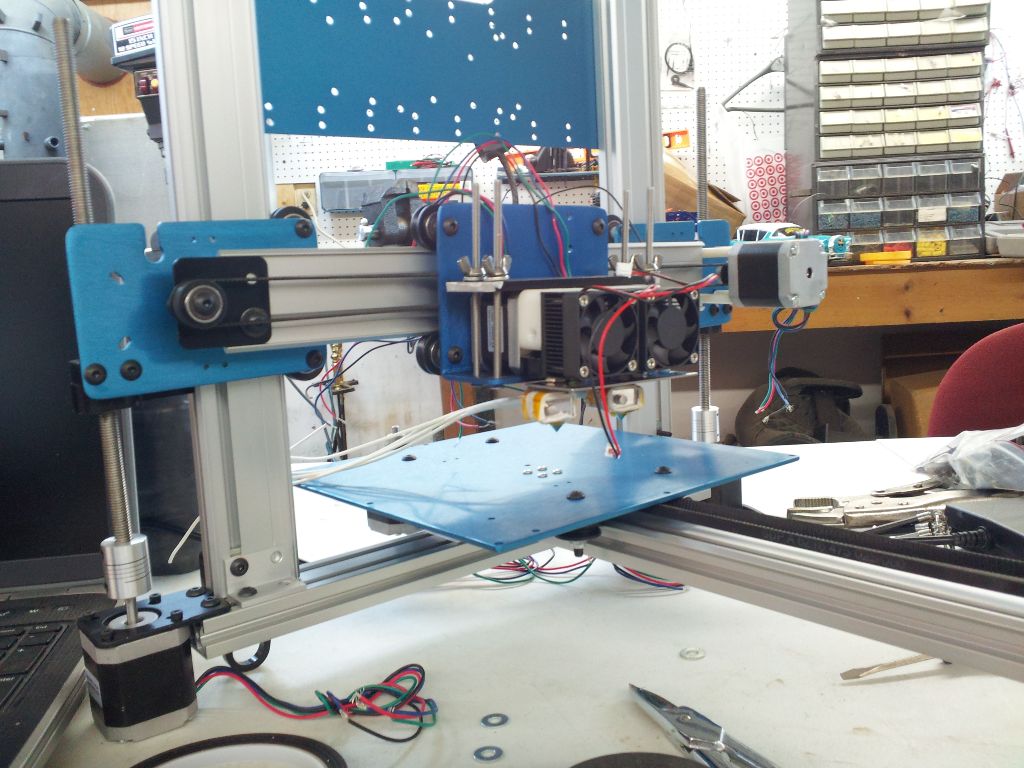
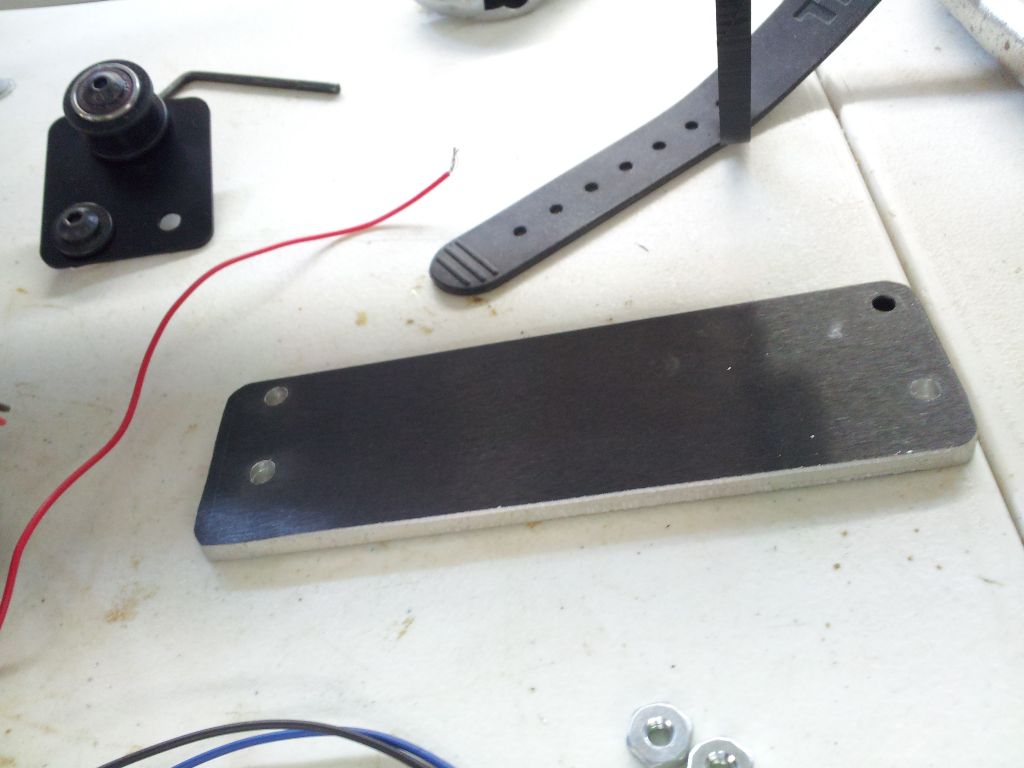 Many many many hours later, I finally got to continue the process of building. So I had to figure out how I’m going to mount this to the ord bot. I found some scrap aluminum I had laying around and chopped out a bar about the width of the height of the stepper bodies. Drilled some holes.
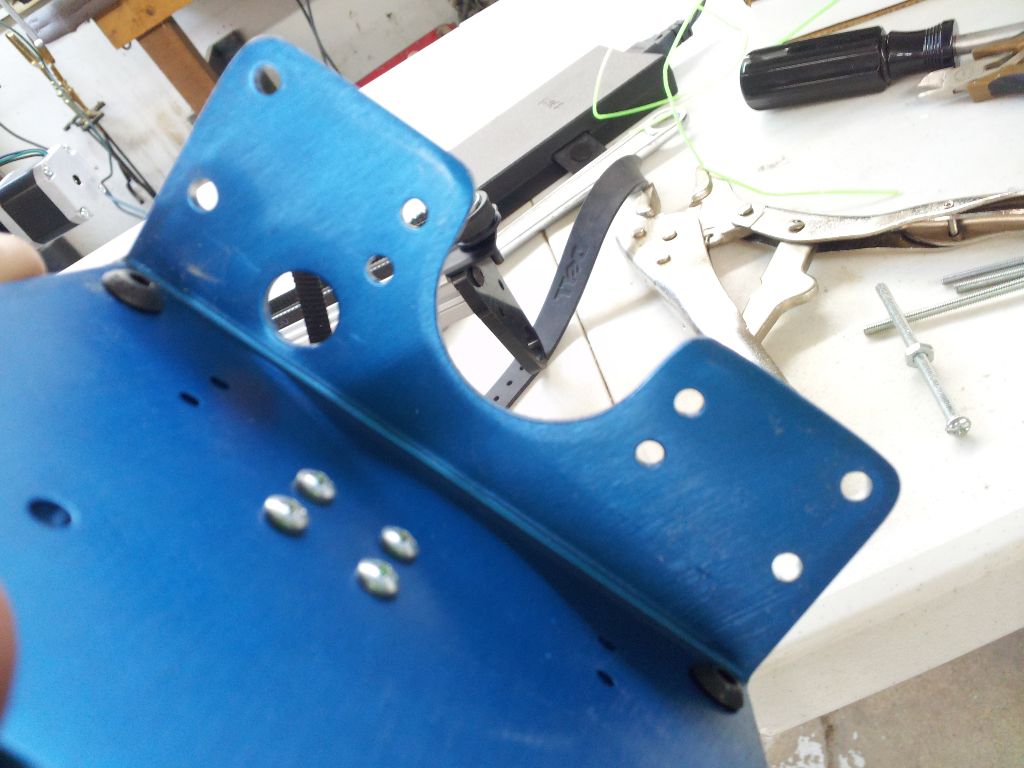
I also drilled out the ord bot’s mount to match. I honestly should have measured and made the holes symmetric but I was still upset at the extruder build that I just went with it. So it honestly only fits 1 way, the way I drilled it. Lol.

The concept is simple, lay most of the weight on the ord bot’s platform, and sandwich the steppers between with another block of aluminum.
It turned out pretty rigid, which is good. I found some screws and some wing nuts to fit. I used wing nuts for now because I’m pretty sure I’ll need to adjust it a little bit (and probably take it off again to fix the extruder 100 times… Note to self: Make quick release connectors for the extruder;)
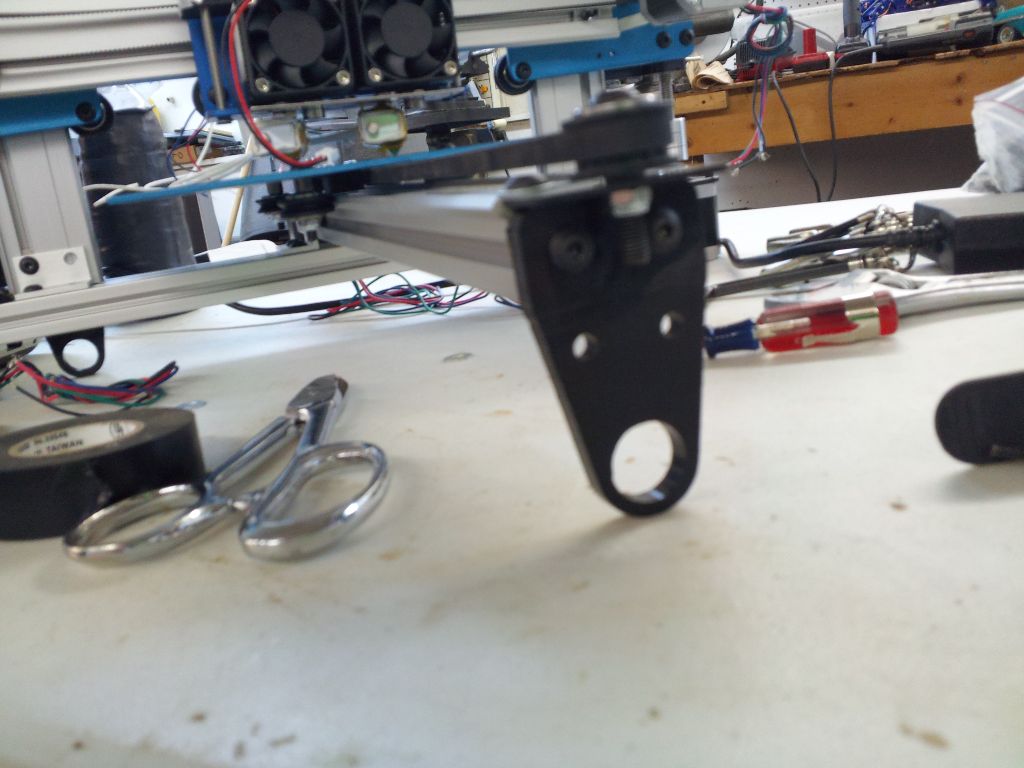
Moving on I was able to secure the front foot better by tapping out the holes first. The makerslide holes aren’t threaded yet the frame build instructions just had a picture of them in there not saying much about tapping. I tried to see if the aluminum was soft enough to self tap but that didn’t go so well.

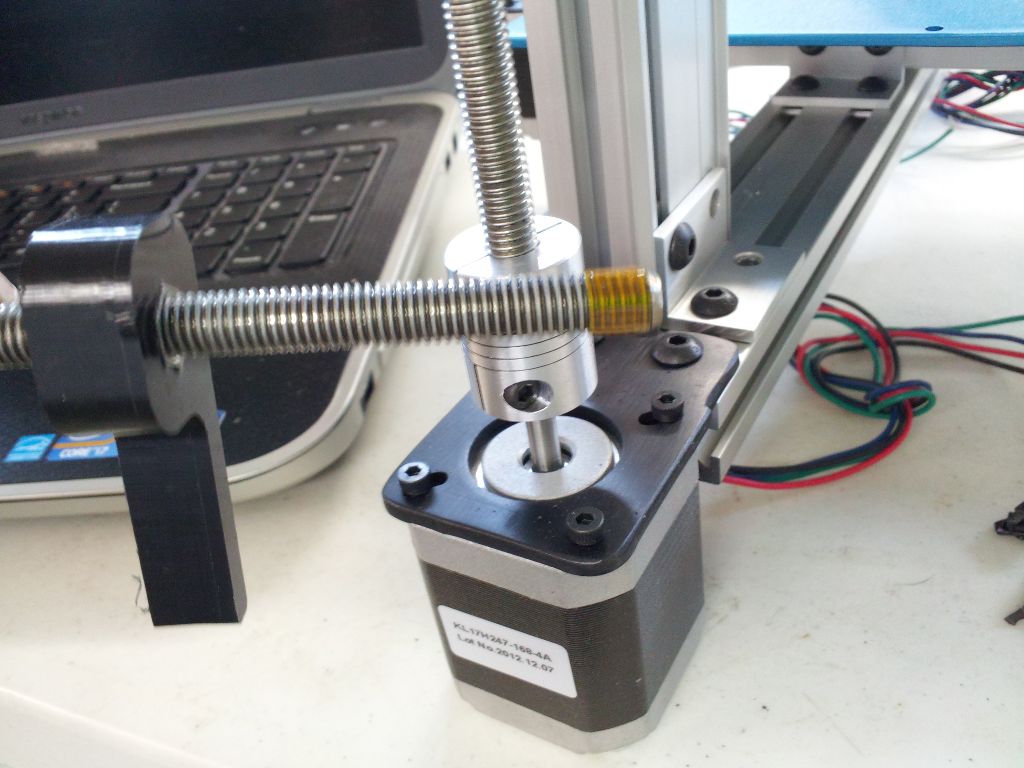
The next part to fix was one of the z-axis rods wasn’t very tight in the coupler, even though the coupler was maxed out on tightness. One side was fine, the other side… not so fine. So I tried putting electrical tape around it then putting it in. The electrical tape was just too thick without bending out the coupler. So I tried kapton tape. The kapton was thin enough to slide in with some wiggling and once tightend it didn’t slip any more.
That’s about it for now, when I get some more time I’ll continue on with the build.
both extruders have to be the same height or you will not get your layers right
you will need to shim the one that is lower so its raised to the same height.
you also loose alot about 3-4 inches of print area on the Y axis with dual extruders
I’m about to do the same with my ord-bot but i’m using j-head mounts because they work way better than the qu-bd’s.
I will be cutting new t-slot rails to give me back the lost area for having 2 extruders as well
Thats good to know, i have little faith in the qubd extruder honestly. Im going to ride it out now, concentrate in getting one working, then i will try to align the other one.